
Use this indicator directly on TradingView — the world's most popular charting platform.
What does the Volume Spread Analysis (VSA) indicator do?
FibAlgo - Wyckoff Volume Spread Analysis implements the core principle of Wyckoff methodology: the relationship between volume (effort) and price spread (result). Every bar tells a story — by analyzing the interplay of volume level, spread width, and close position, this indicator classifies bars into eight distinct VSA signal types: Demand Bars, Supply Bars, No Demand, No Supply, Stopping Volume, Absorption, Change of Character, and Effort vs Result Divergence. Each signal reveals the underlying balance of supply and demand that drives price action.
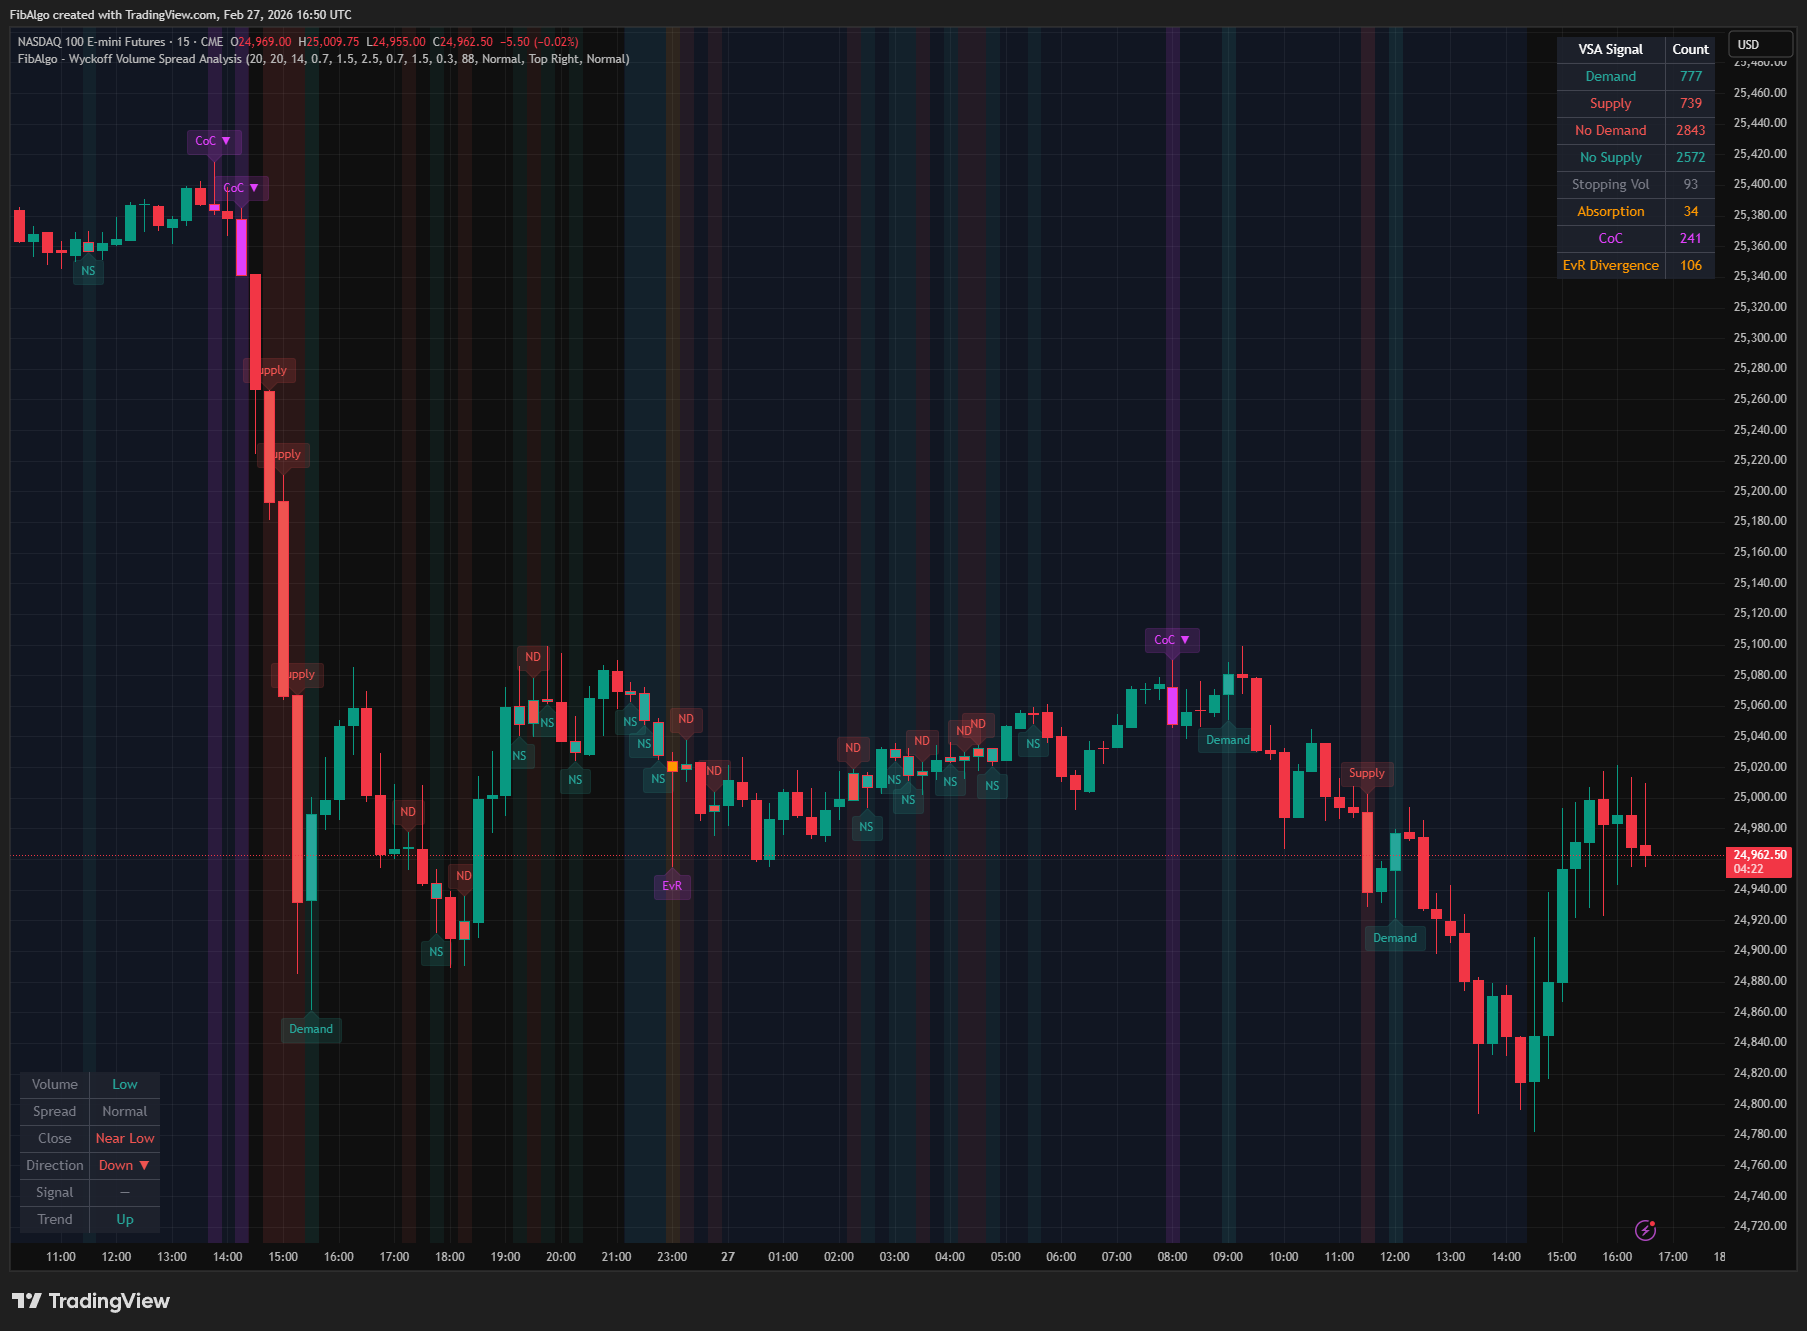
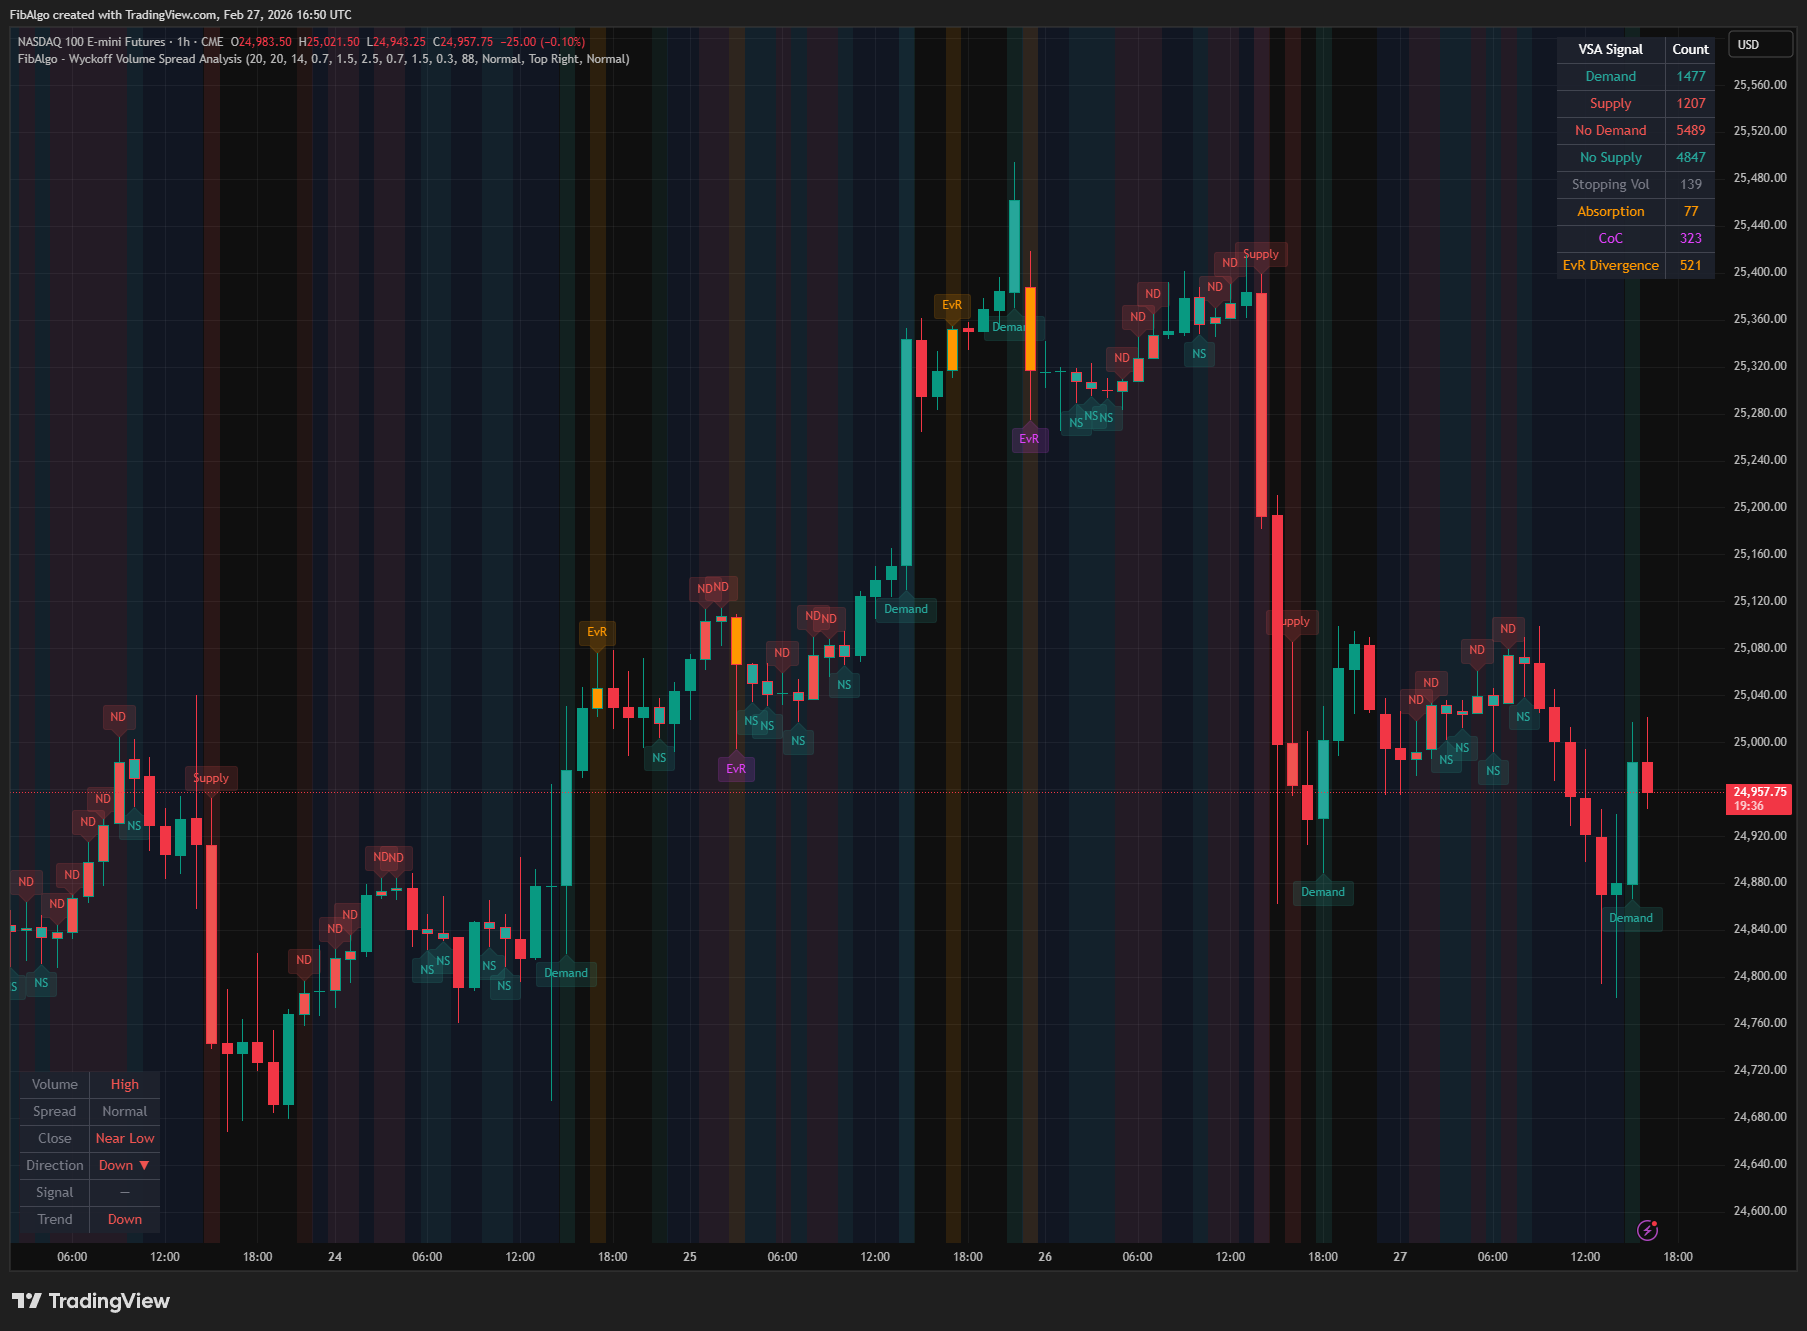
Key Concepts
- Volume Spread Analysis (VSA) — A methodology that examines the relationship between volume, price spread (high minus low), and close position within each bar to reveal the activity of informed participants (smart money).
- Up Bar / Down Bar — As in VSA, an up bar closes above the previous bar's close and a down bar closes below it. Candle color (close versus open) is not used, so gaps between sessions are read correctly.
- Effort vs Result — The foundational VSA principle. Effort is volume; result is price change (spread). When effort and result diverge, it signals hidden accumulation or distribution.
- Demand Bar (Sign of Strength) — Wide spread up bar on high volume with close near the high. Indicates strong buying pressure and institutional demand entering the market.
- Supply Bar (Sign of Weakness) — Wide spread down bar on high volume with close near the low. Indicates strong selling pressure and institutional supply being released.
- No Demand — Narrow spread up bar on low volume, with volume below each of the previous two bars. The market attempted to rise but lacked buying conviction. Bearish implication, especially in a downtrend context.
- No Supply — Narrow spread down bar on low volume, with volume below each of the previous two bars. The market attempted to fall but lacked selling conviction. Bullish implication, especially in an uptrend context.
- Stopping Volume — High volume bar at the end of a trend where price barely progresses in the trend direction. Close is opposite to trend: close near high in a downtrend (buyers stepping in) or close near low in an uptrend (sellers absorbing buying).
- Absorption — High volume yet narrow spread. The opposing side is absorbing all the effort without allowing price to move. Bullish absorption: high-volume narrow down bar (supply absorbed). Bearish absorption: high-volume narrow up bar (demand absorbed).
- Change of Character (CoC) — An extreme bar with the widest spread and highest volume in recent history, occurring in the opposite direction of the prevailing trend. Signals a potential phase transition from accumulation to markup or distribution to markdown.
How does the Volume Spread Analysis (VSA) indicator work?
1. Volume and Spread Classification Each bar is classified along two axes:
- Volume Level: Low (below 0.7× average), Normal, High (above 1.5× average), Ultra (above 2.5× average, never below the High threshold) — thresholds are configurable
- Spread Level: Narrow (below 0.7× average), Normal, Wide (above 1.5× average) — thresholds are configurable
The volume moving average period and spread moving average period are independently adjustable. Classification starts once each moving average has a full period of history, so the first bars of a chart are not classified. On symbols without volume data no signals are produced, the Volume Classification Panel shows "No data", and the Info Table shows a "Volume Data: Not available" row.
2. Close Position Analysis The close position within each bar is measured as a ratio from 0 (close at low) to 1 (close at high). The Close Position Threshold (default 0.3) determines what counts as "near high" (above 0.7) or "near low" (below 0.3). This is critical for Wyckoff analysis — where price closes within the bar reveals who won the battle.
3. Signal Detection Logic Eight distinct signal types are detected simultaneously:
- Demand Bar — Up bar + wide spread + high/ultra volume + close near high
- Supply Bar — Down bar + wide spread + high/ultra volume + close near low
- No Demand — Up bar + narrow spread + low volume + volume below each of the previous two bars
- No Supply — Down bar + narrow spread + low volume + volume below each of the previous two bars
- Stopping Volume — High/ultra volume + close opposite to the prior trend direction (down bar closing near its high after a falling slope, or up bar closing near its low after a rising slope)
- Absorption — High/ultra volume + narrow spread (effort without result)
- Change of Character — Widest spread in 20 bars + near-highest volume + direction opposite to the prior trend + close near extreme
- Effort vs Result Divergence — High effort (volume) with low result (spread), or low effort with high result
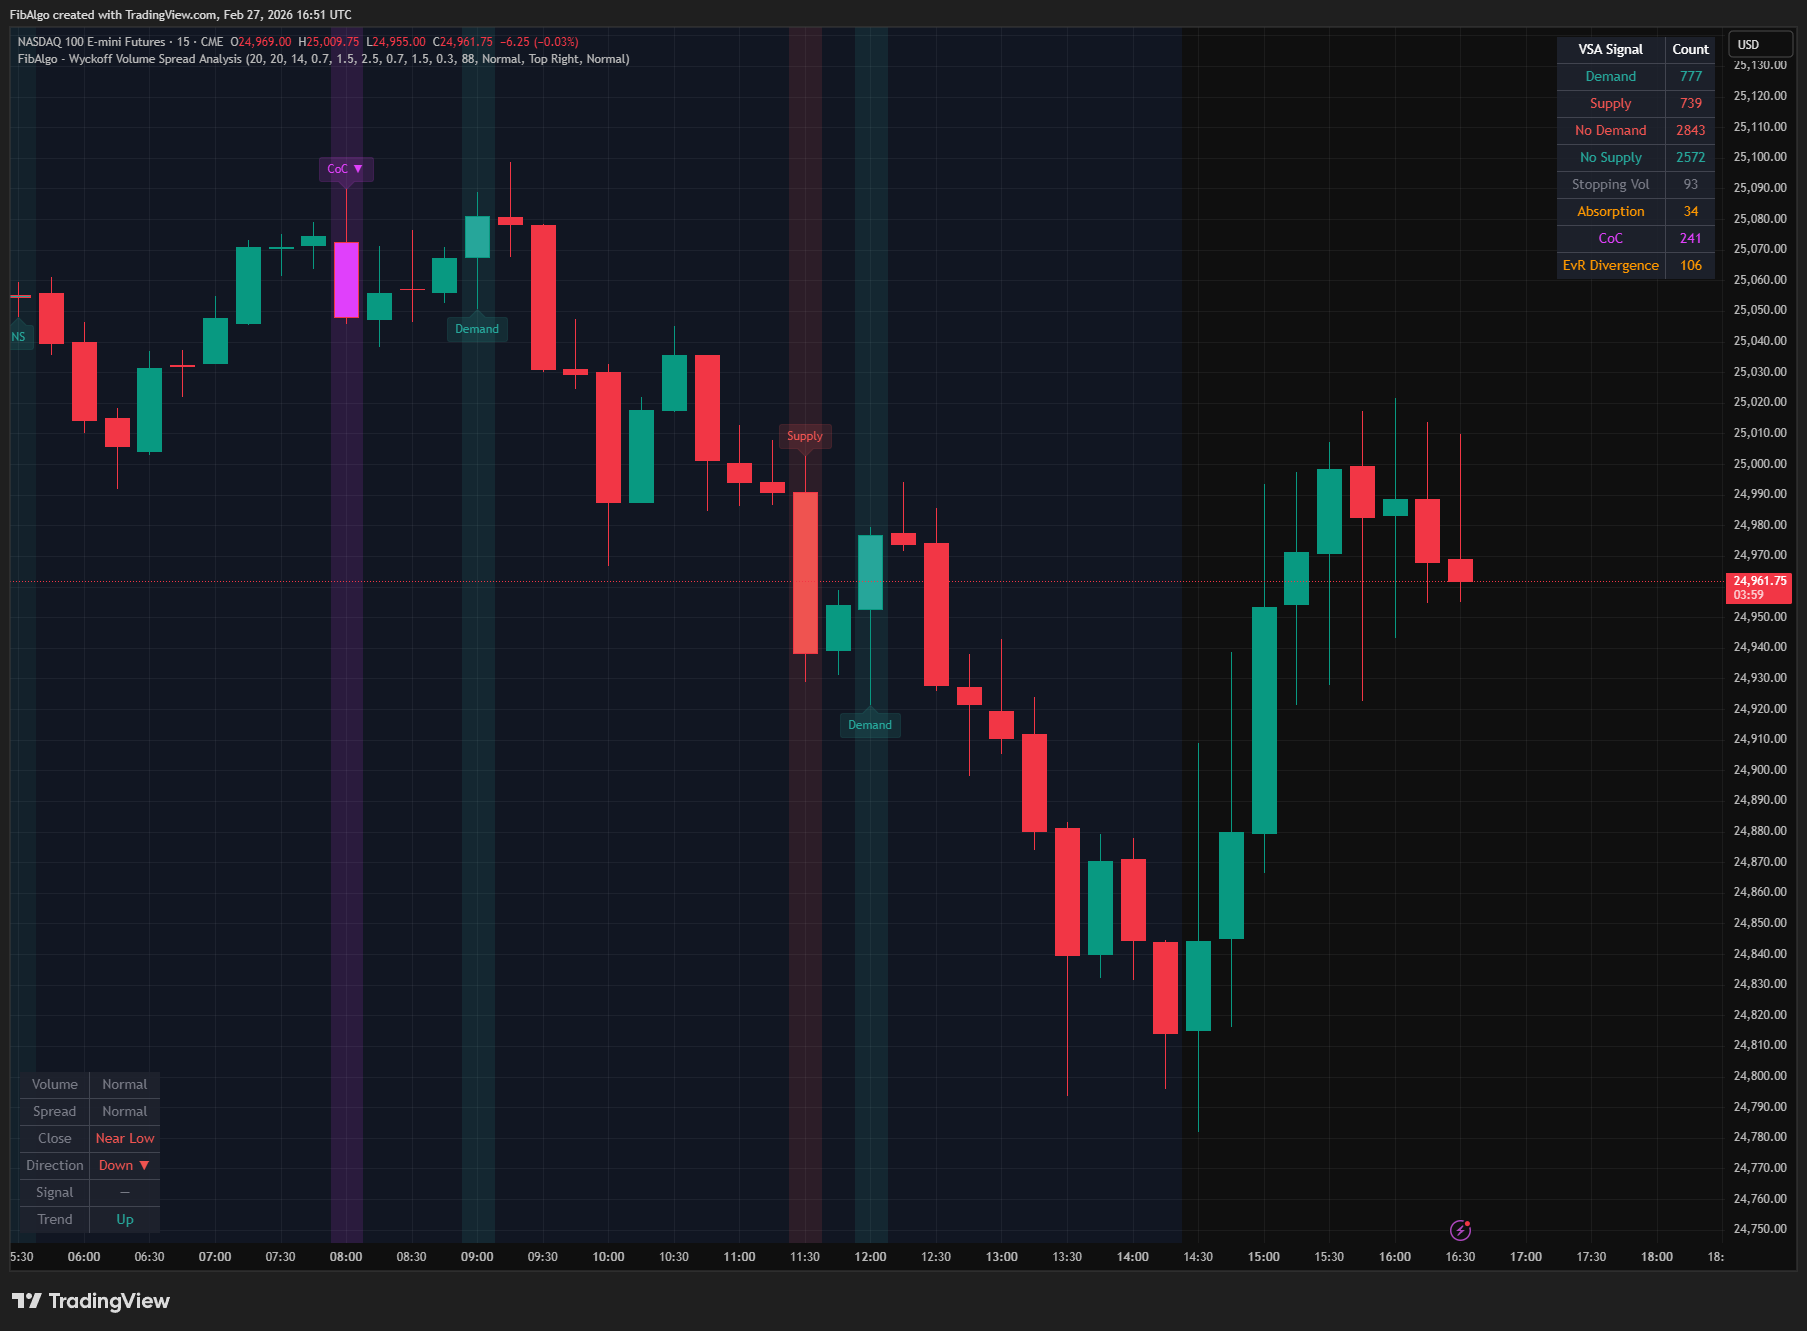
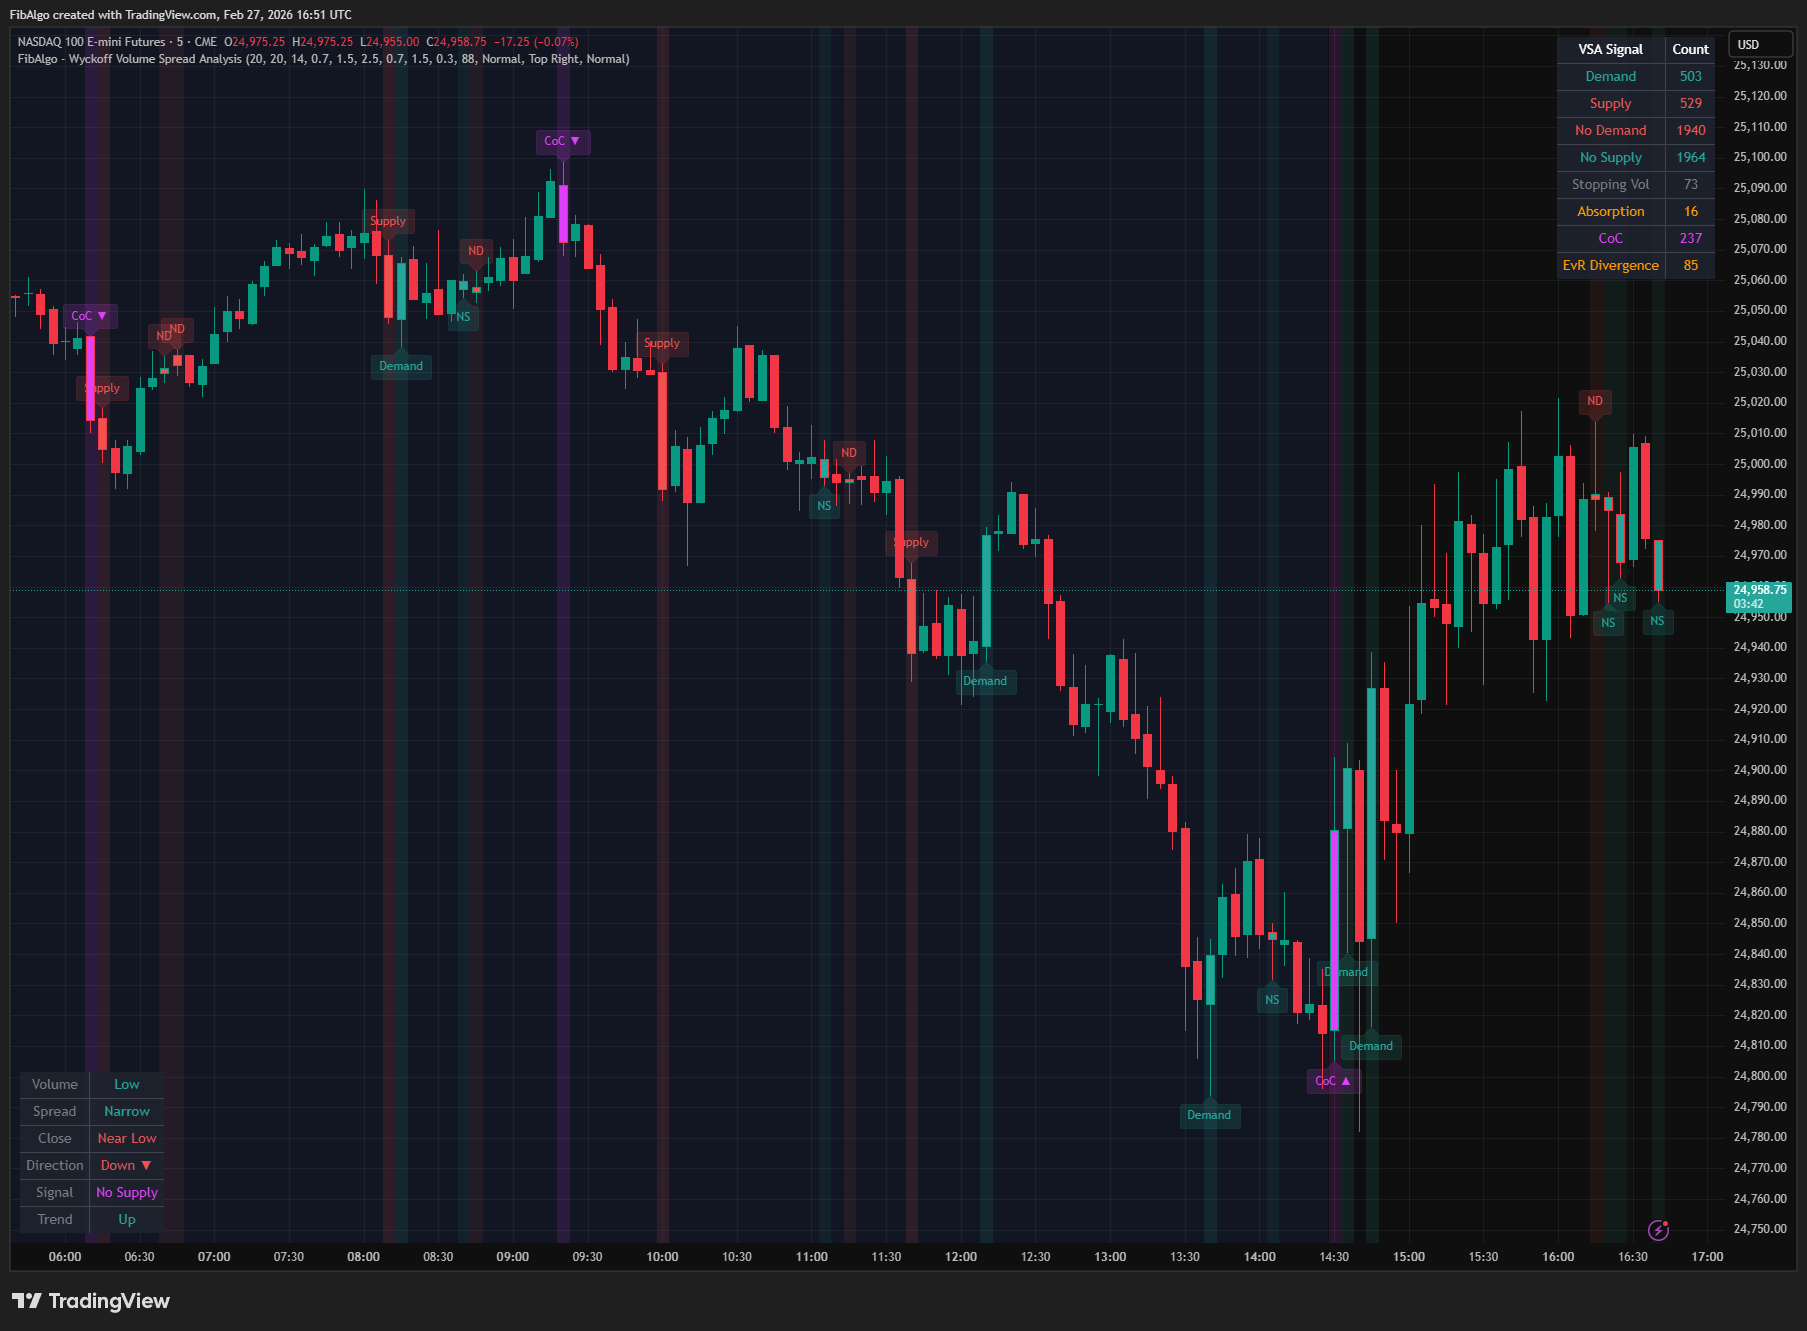
4. Signal Prioritization When multiple conditions overlap on a single bar, only the highest-priority signal is displayed. Priority order: Change of Character > Stopping Volume > Absorption > Demand/Supply > Effort vs Result > No Demand/No Supply. This prevents label clutter while preserving the most significant information. Alerts follow the same priority among the alert types you enable, independently of the display toggles, so at most one alert is sent per bar.
5. Trend Context A 20-bar linear regression slope determines trend direction by its sign (up or down). Stopping Volume and Change of Character require trend context: they use the slope measured up to the previous bar, so the signal bar itself cannot cancel its own trend context. Any non-zero slope counts as a trend, so these signals can also appear in sideways conditions.
6. Visual System
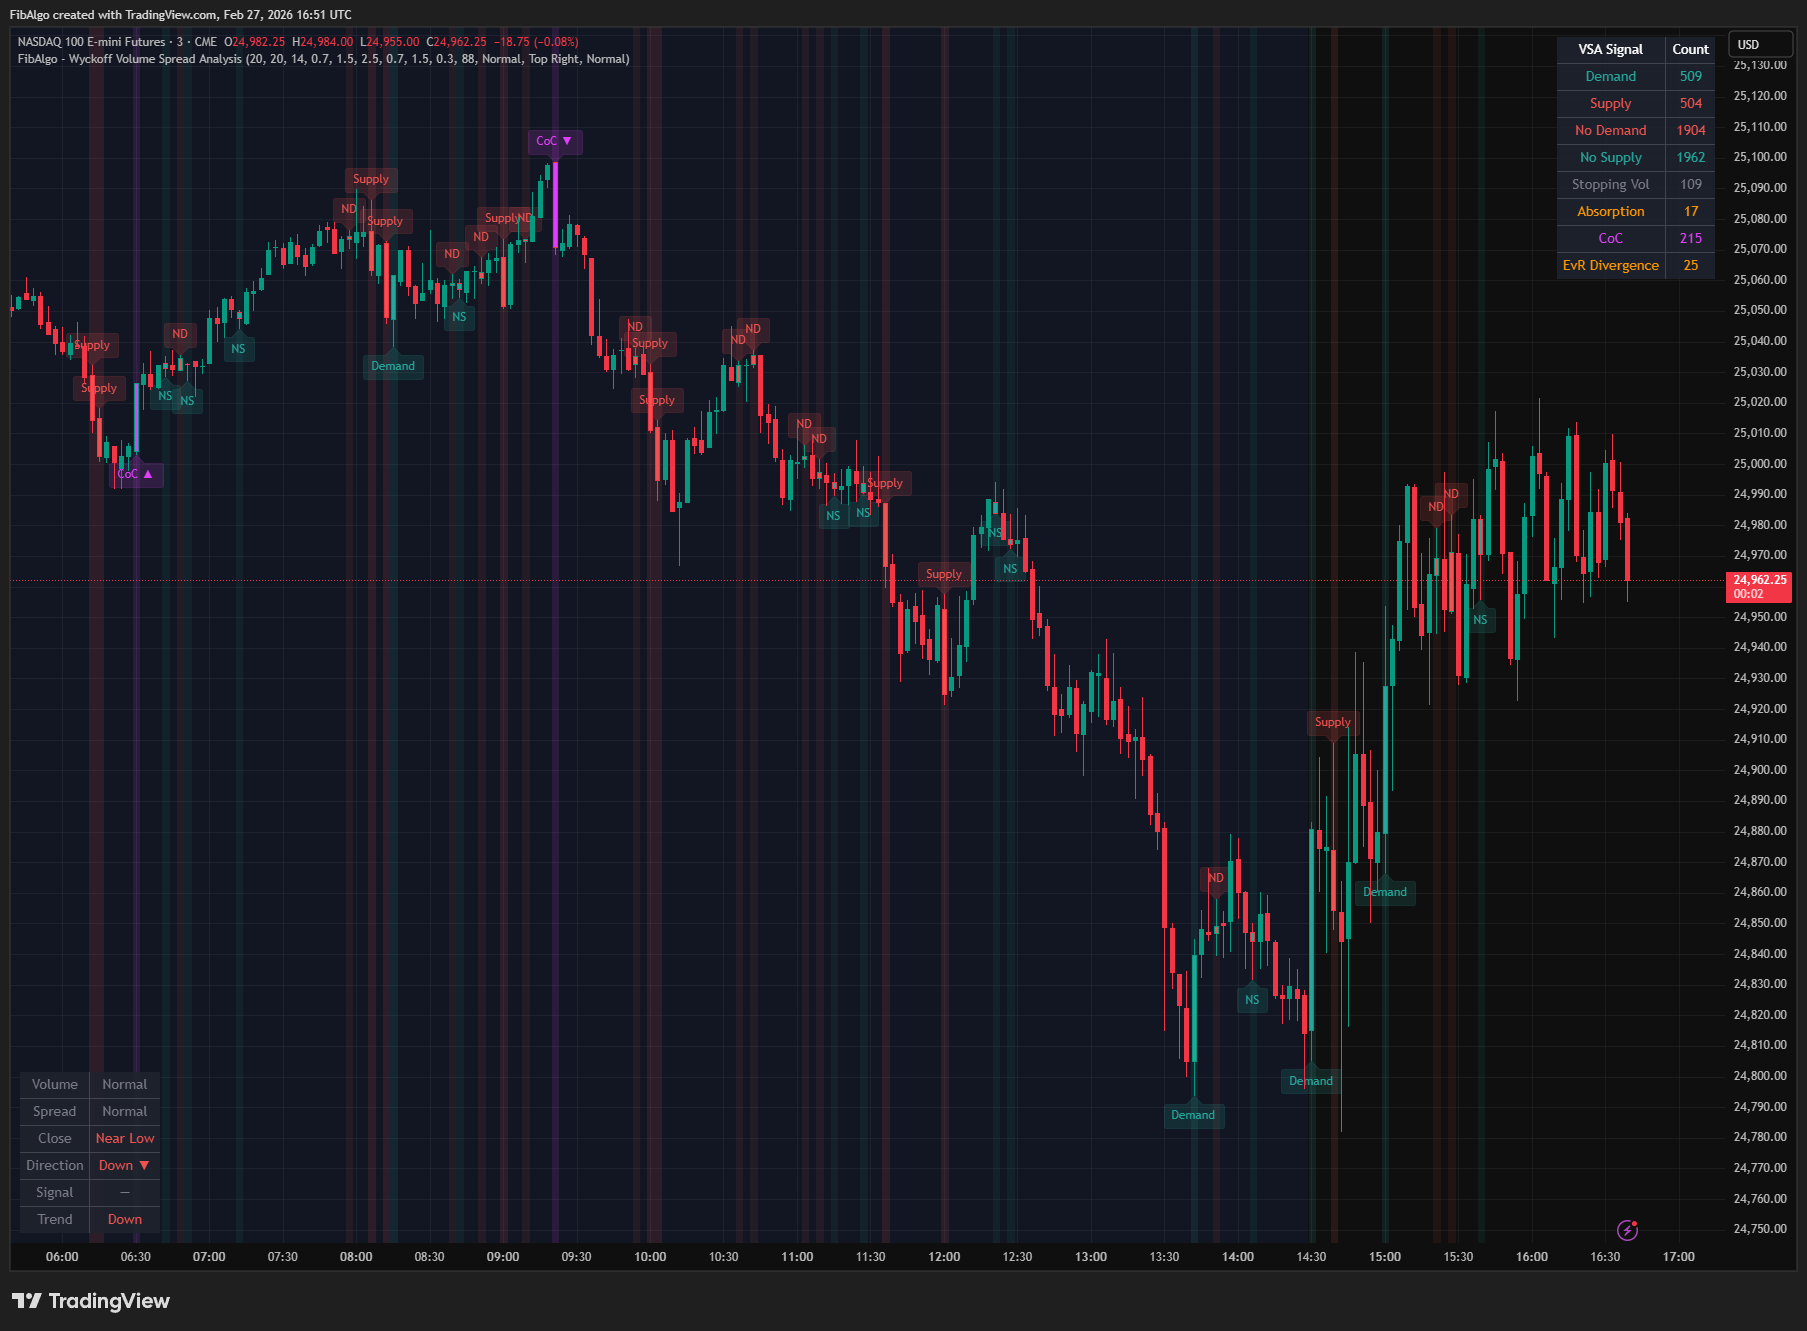
- Labels placed at bar highs (bearish signals) or lows (bullish signals) with tooltips showing the signal explanation, volume (with its multiple of the average), spread, and close position
- Labels, background tints, bar colors, and counts are confirmed when the bar closes and do not repaint; the forming bar is shown only in the Volume Classification Panel
- Background coloring tints signal bars for quick scanning across the chart
- Bar coloring overrides default candle colors on signal bars for immediate identification
- All visual elements have individual toggles and configurable colors; on light chart backgrounds, label text uses the chart text color for readability
Features
- Eight VSA Signal Types — Detects Demand, Supply, No Demand, No Supply, Stopping Volume, Absorption, Change of Character, and Effort vs Result Divergence
- Volume Classification — Classifies volume into Low, Normal, High, and Ultra levels using configurable multiplier thresholds against a moving average
- Spread Classification — Categorizes bar spread (range) as Narrow, Normal, or Wide relative to a spread moving average
- Close Position Analysis — Calculates where each bar closes within its range to determine buyer/seller control
- Signal Prioritization — When multiple signals overlap, only the highest-priority signal is shown to prevent label clutter
- Effort vs Result Divergence — Identifies bars where volume effort and price result diverge, revealing hidden accumulation or distribution
- Trend Context Integration — Uses a 20-bar linear regression slope for trend direction; Stopping Volume and CoC are checked against the trend before the signal bar
- Background Coloring — Tints the background on signal bars with configurable opacity for quick chart scanning
- Bar Coloring — Overrides candle colors on signal bars for immediate visual identification
- Volume Classification Panel — Real-time panel at bottom-left (bottom-right when the Info Table is set to Bottom Left) showing the current bar's volume level, spread level, close position, direction, active signal (marked as forming until the bar closes), and trend
- Info Table — Displays running counts of all eight signal types detected on closed bars
- Comprehensive Alert System — Individual alert toggles for each of the eight signal types, independent of the display toggles. Alerts are sent once when the bar closes, with symbol, timeframe, price, and volume data
- Rich Tooltips — Every label includes a detailed tooltip with the signal explanation, volume data, spread, and close position
- Full Customization — 39 inputs across 6 groups covering detection thresholds, signal toggles, colors, display options, and alerts
How to use the Volume Spread Analysis (VSA) indicator
- Add the indicator to your chart. It works on all timeframes but is most effective on 5-minute to 1-hour charts where volume data is reliable.
- Watch for Demand Bars near support levels — they indicate strong buying pressure and potential reversals.
- Supply Bars near resistance signal institutional selling — be cautious about long positions.
- No Demand in a downtrend confirms weakness — the market lacks buyers to sustain a rally.
- No Supply in an uptrend confirms strength — sellers are absent and the trend can continue.
- Stopping Volume at the end of a sustained move suggests the trend is losing momentum — prepare for a potential reversal.
- Absorption bars (high volume, narrow spread) reveal a battle between buyers and sellers — the side absorbing the effort usually wins.
- Change of Character is the strongest signal — it suggests a potential phase transition and should be given high priority.
- Use the Volume Classification Panel to understand the current bar's characteristics in real time. A signal marked as forming is not final until the bar closes.
- Combine multiple VSA signals with Wyckoff phases and market structure for higher confidence analysis.
- Configure the classification thresholds to match your instrument's typical volume and spread behavior.
Limitations
- This indicator does not generate buy or sell signals. It classifies bars based on volume spread analysis principles for educational and analytical purposes.
- Volume data reliability varies by instrument and exchange. Forex spot volume is typically tick volume and may not represent actual traded volume. Symbols without volume data produce no signals.
- Signal classification depends heavily on the volume and spread moving average periods — different settings may produce different classifications.
- The trend context uses a simple 20-bar linear regression slope, and any non-zero slope counts as a trend. Complex or choppy market conditions may produce ambiguous trend readings.
- Signals are confirmed on bar close, so a label appears only after its bar has closed.
- Signal prioritization means only one signal is shown per bar. Lower-priority signals that overlap with higher-priority ones are suppressed.
- Past pattern detection does not guarantee future price behavior.
- Maximum 500 drawing objects (labels) are supported by Pine Script.
Trading involves risk. This indicator is an analysis tool, not financial advice: use it alongside your own analysis and risk management.
Release notes
v2.0LatestBar-close signals, VSA bar direction and independent alerts
Labels, colors, counts and alerts now confirm on bar close, up and down bars follow the VSA definition, and each alert toggle works on its own.
After updating
- Delete and re-create your alerts for this indicator with the "Any alert() function call" condition. TradingView alerts keep running the script version they were created with.
- Alert messages now start with the symbol and timeframe. If you filter alert messages automatically, for example through a webhook, update your filters.
Fixed
- Labels, bar colors, background tints, counts and alerts confirm on bar close, so signals no longer appear and vanish on the forming bar, and No Demand/No Supply alerts no longer fire at the start of almost every bar. The panel marks a live signal as forming.
- False Demand and Supply signals on the first bars of a chart, while the averages were still loading, are gone.
- Change of Character and Stopping Volume now use the trend before the signal bar, so a strong reversal bar no longer cancels its own signal.
- Each alert toggle works on its own, independent of the display toggles, and alert messages include the symbol, timeframe and volume.
- The volume panel no longer overlaps an Info Table set to Bottom Left, and missing volume data is shown instead of a normal reading.
Improved
- Complete tooltips, consistent Effort vs Result colors and readable labels on light charts.
Changed
- Up and down bars follow VSA: a close above or below the previous close, not the bar's own open. No Demand and No Supply also need volume below the previous two bars, so you will see fewer of them.
Frequently Asked Questions
What is volume spread analysis (VSA)?
Volume spread analysis reads each bar through three things: its volume, its spread (high minus low) and where it closes within that range. Comparing them shows whether informed participants are buying or selling. The indicator uses these readings to classify bars into eight types, including demand bars, supply bars, no demand, no supply, stopping volume and absorption.
What is effort vs result in Wyckoff?
Effort versus result is the foundational principle behind VSA. Effort is volume and result is price movement. When they agree, for example high volume producing a wide move, the move is backed by real participation. When they diverge, such as high volume with little price progress, the effort is being absorbed, which can reveal hidden accumulation or distribution.
What are no demand and no supply bars?
A no demand bar is a narrow-spread up bar (a close above the previous close) on low volume, below that of the previous two bars: the market tried to rise without buying conviction, which is bearish, especially in a downtrend. A no supply bar is a narrow-spread down bar (a close below the previous close) on the same kind of low volume: the market tried to fall without selling conviction, which is bullish, especially in an uptrend.
What is stopping volume in VSA?
Stopping volume is a high-volume bar near the end of a trend in which price barely progresses in the trend direction and closes against it: near the high in a downtrend, as buyers step in, or near the low in an uptrend, as sellers absorb the buying. It suggests the trend is losing momentum and a reversal may follow.
What is absorption in VSA?
Absorption is high volume on a narrow spread: one side is absorbing the other side's effort without letting price move. A high-volume narrow down bar is bullish absorption, with supply being absorbed; a high-volume narrow up bar is bearish absorption, with demand being absorbed. In VSA, the side doing the absorbing usually wins.
Learn More
- Technical Analysis for Crypto Trading: The Definitive GuideLearn technical analysis from basics to advanced for cryptocurrency trading. Master chart patterns, indicators, volume analysis, and multi-timeframe strategies.
- Smart Money Concepts (SMC): How Institutional Traders Move MarketsLearn Smart Money Concepts including order blocks, fair value gaps, liquidity sweeps, and breaker blocks. Understand how institutions trade.
- Risk Management in Crypto Trading: The Complete Survival GuideMaster position sizing, stop losses, portfolio allocation, and emotional discipline for crypto trading. Learn why risk management matters most.
Start Using Wyckoff Volume Spread Analysis
This indicator is free to use on TradingView. Add it to your charts and use it alongside your own analysis.
Related indicators
View All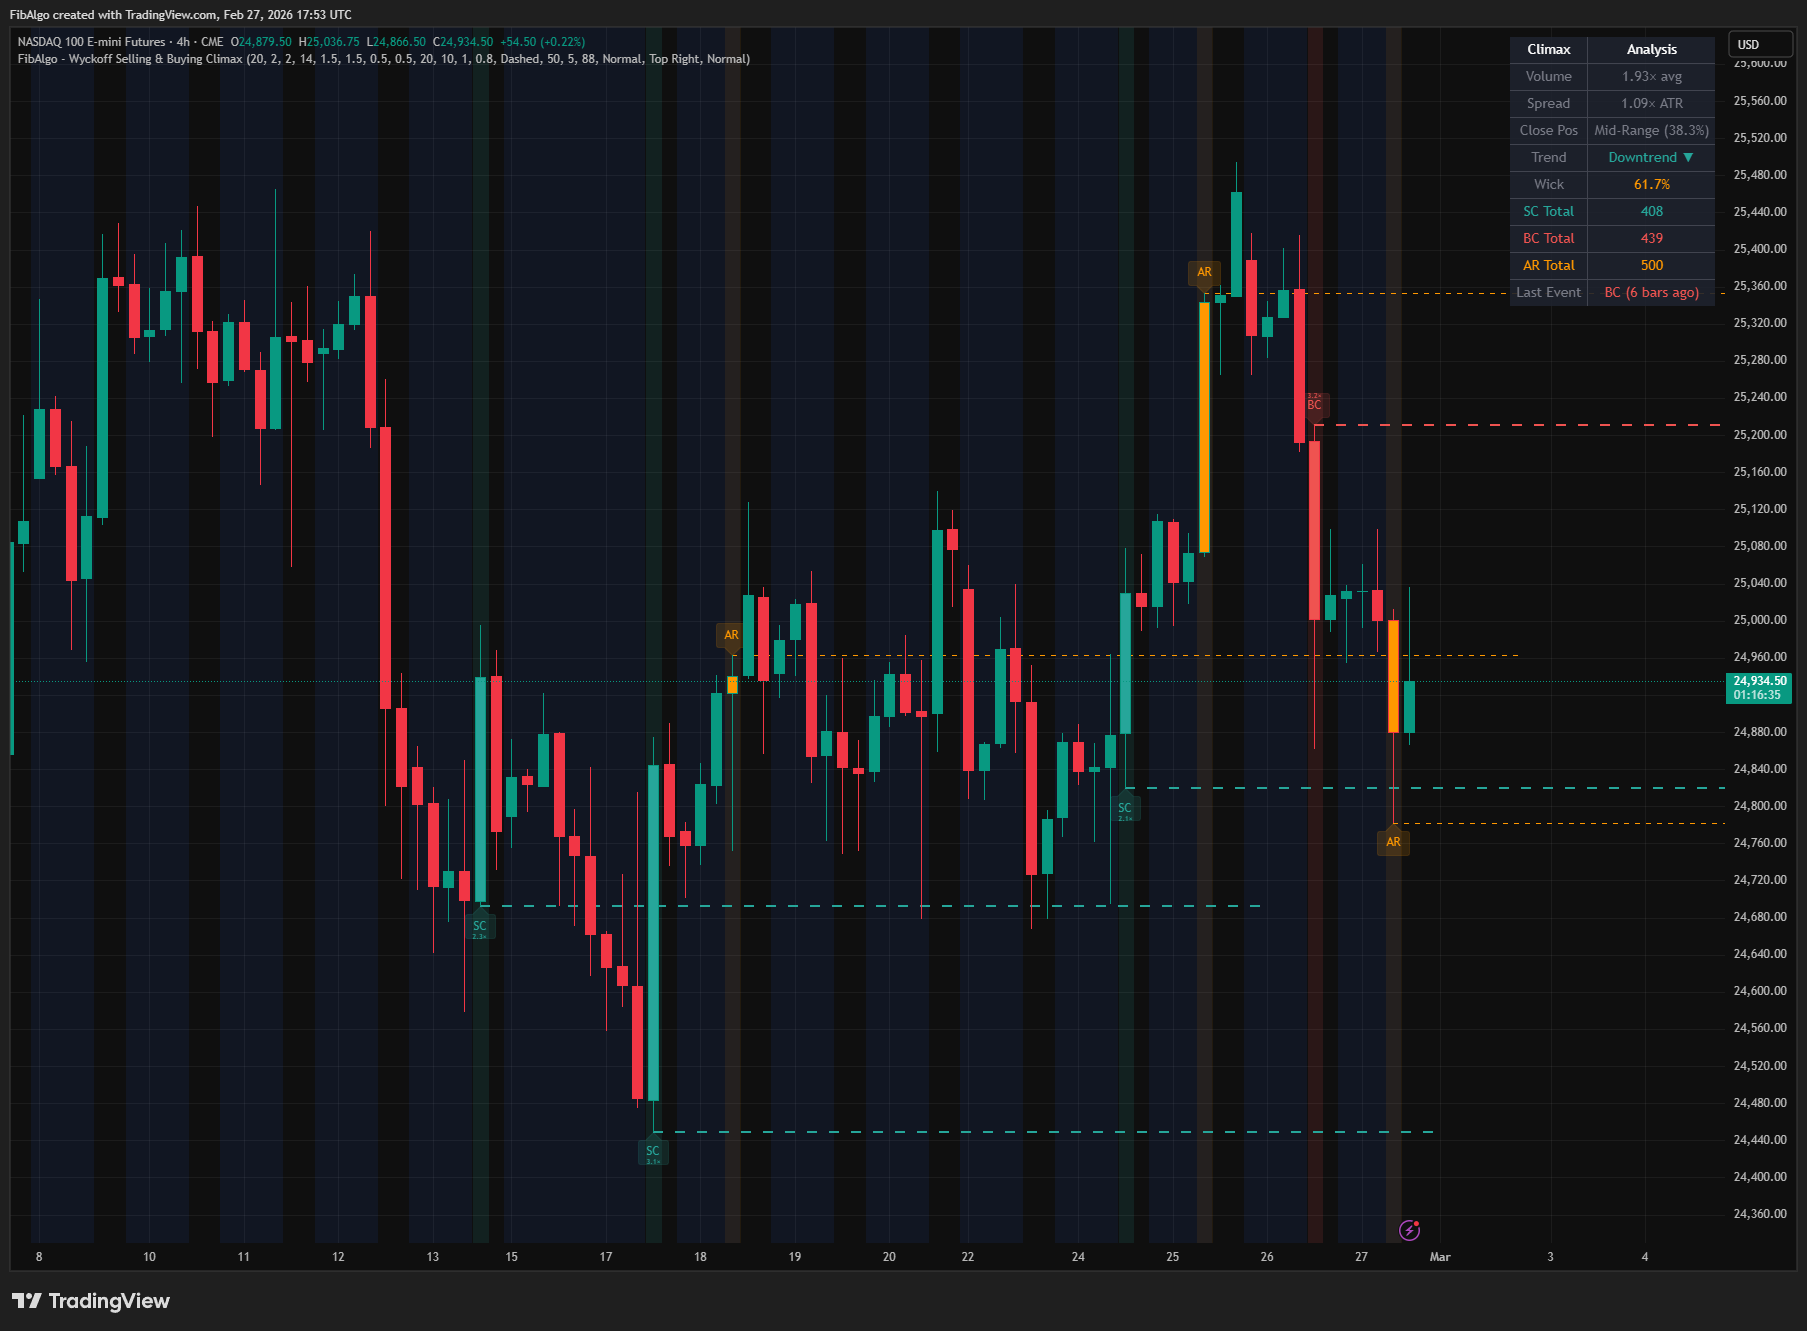
Wyckoff Selling & Buying Climax
TradingView indicator that detects Wyckoff Selling and Buying Climax events — extreme institutional pressure signaling potential trend exhaustion.
See Details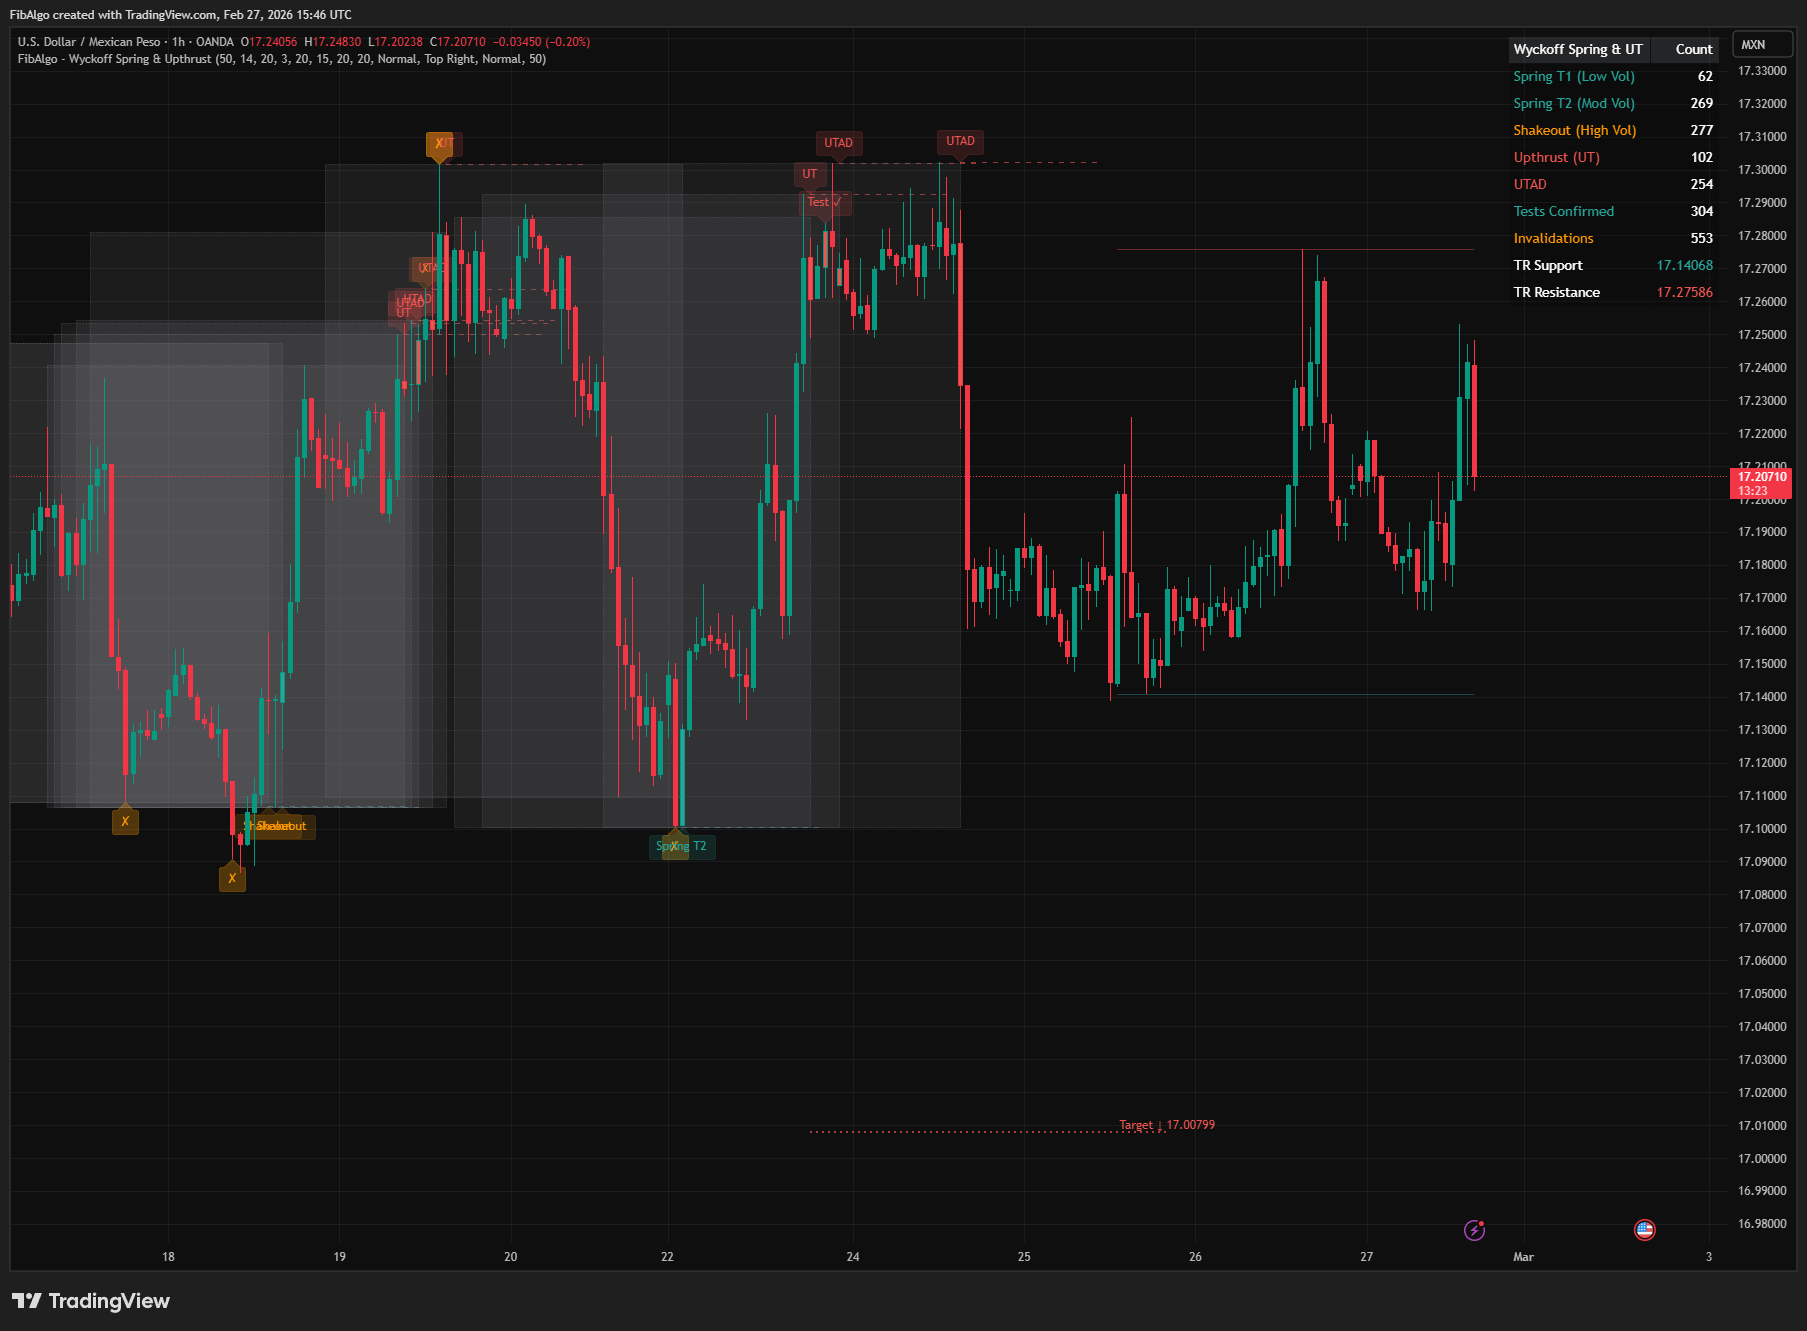
Wyckoff Spring & Upthrust
TradingView indicator that detects Wyckoff Springs and Upthrusts — the two most actionable reversal events with volume classification and price targets.
See Details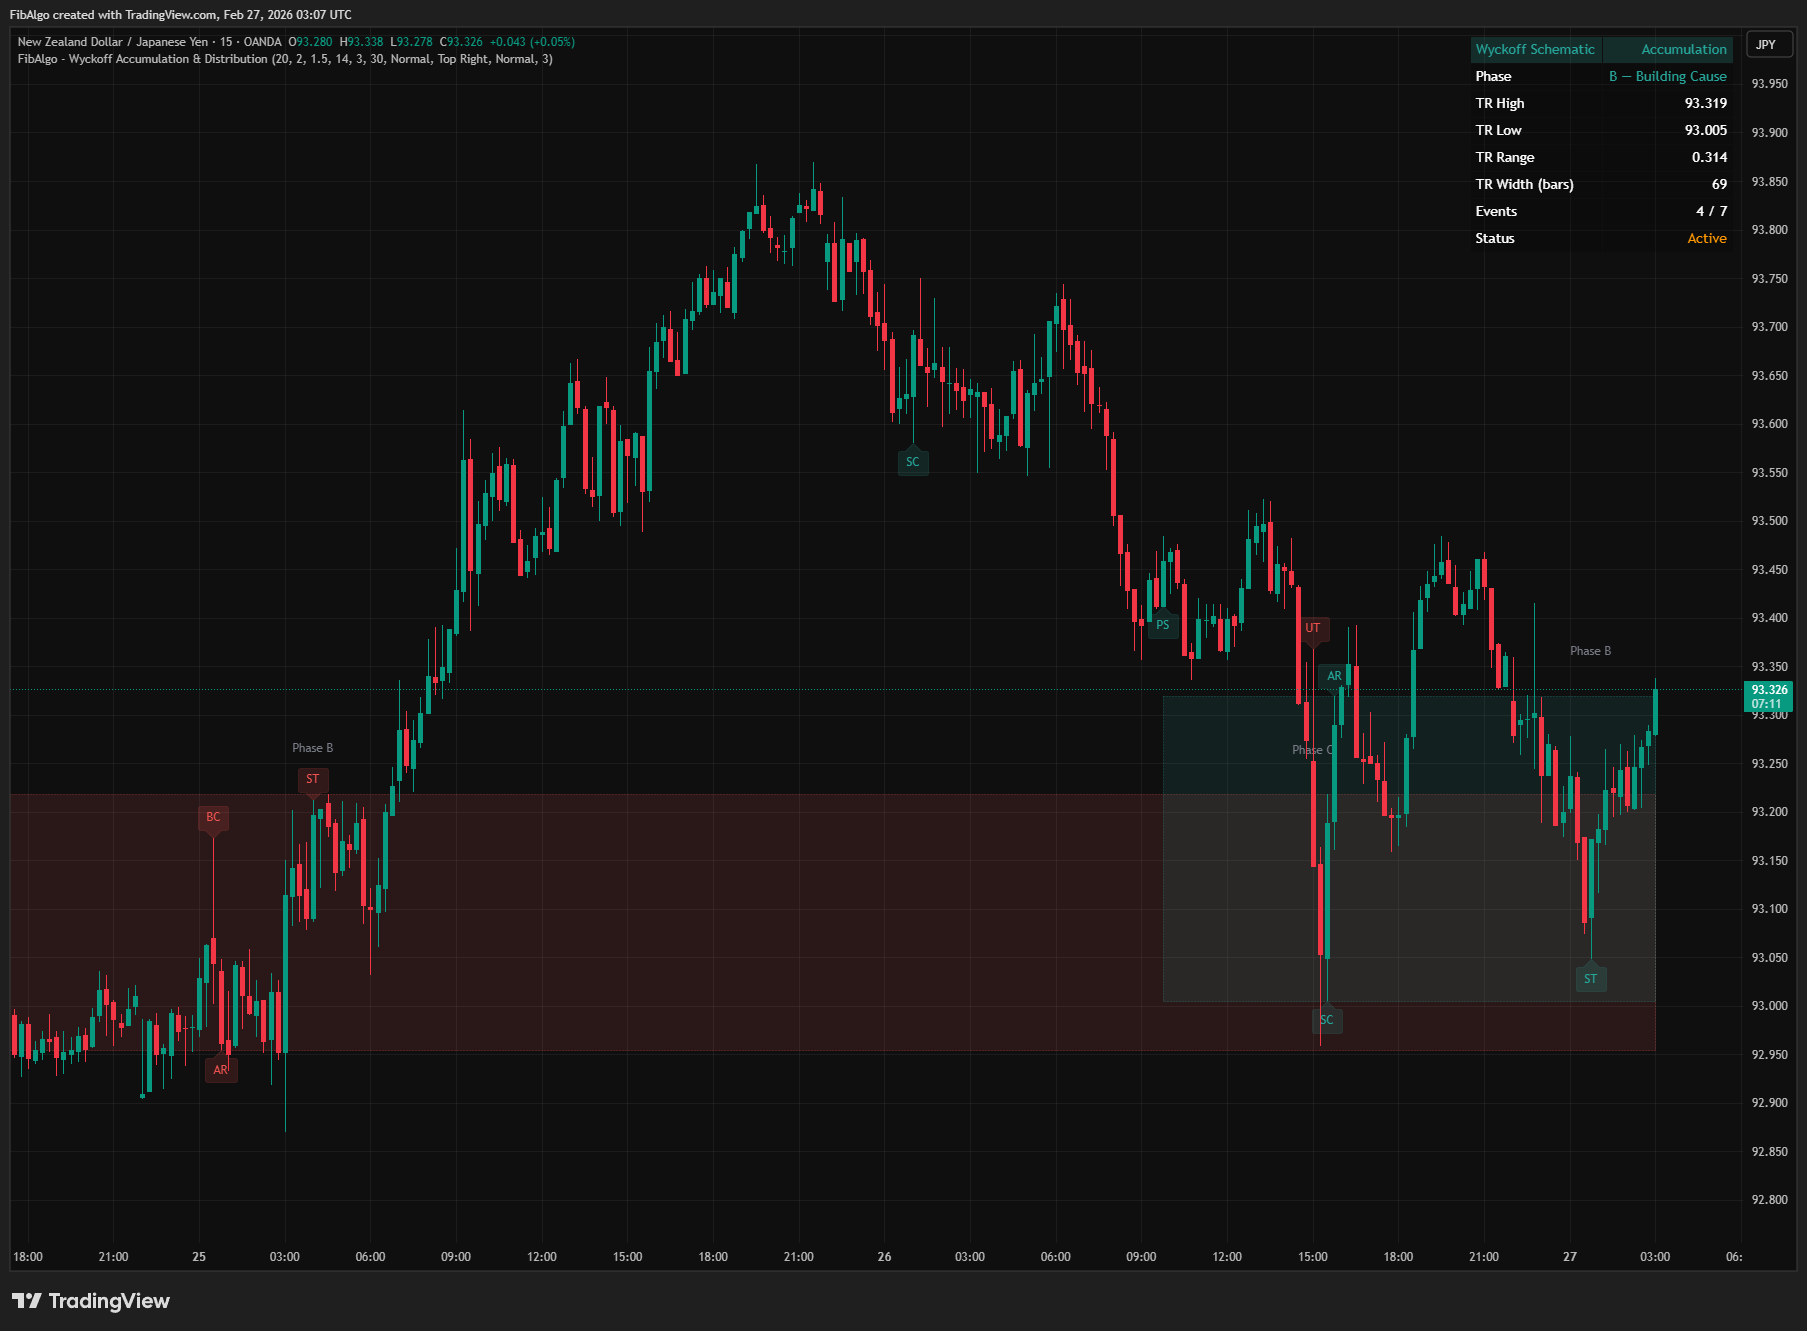
Wyckoff Accumulation & Distribution
TradingView indicator that automatically detects Wyckoff Accumulation and Distribution schematics as each bar closes, with phase classification (A through E).
See Details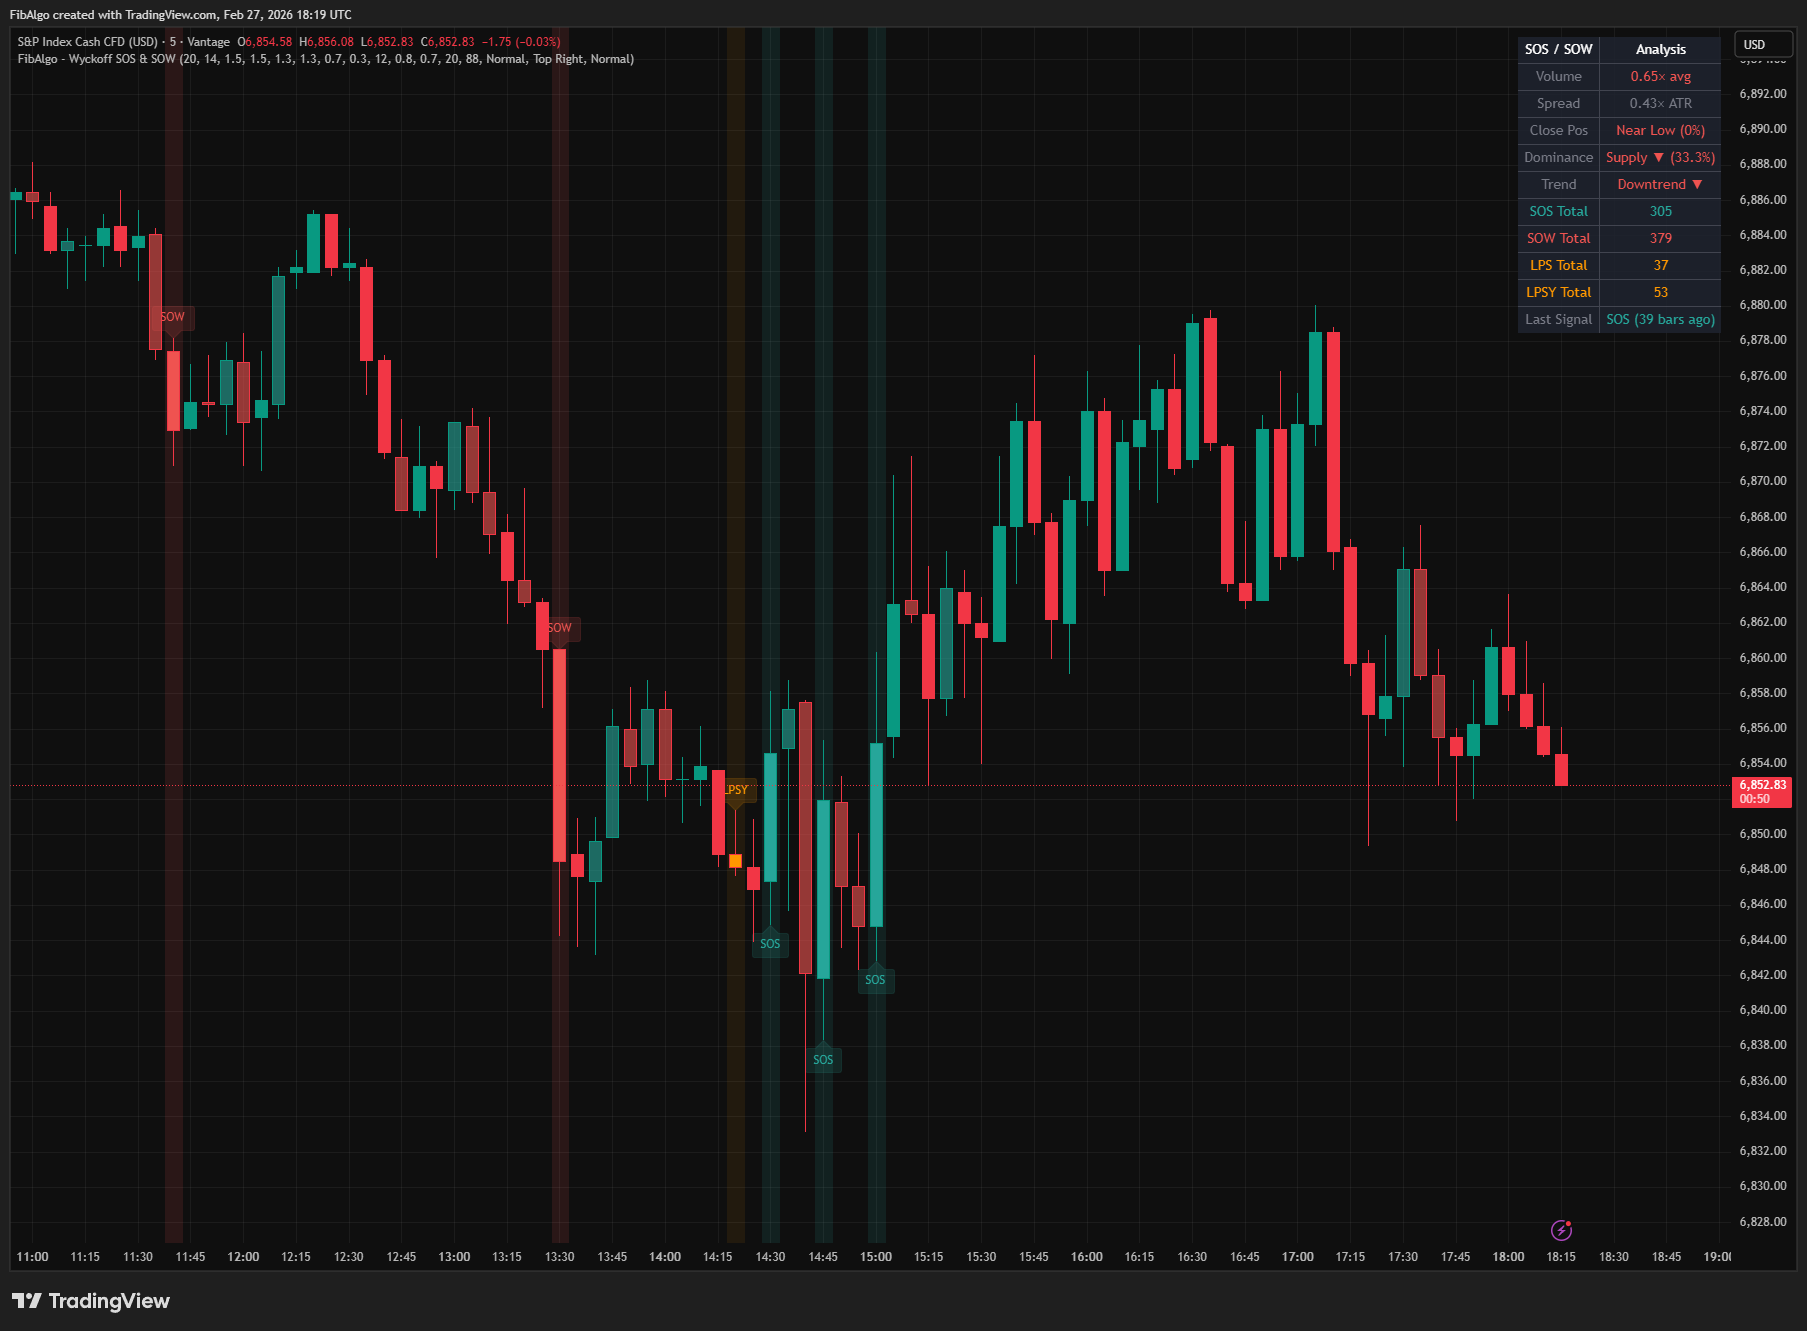
Wyckoff SOS & SOW
TradingView indicator that identifies Wyckoff Sign of Strength (SOS) and Sign of Weakness (SOW) events with LPS/LPSY confirmations.
See Details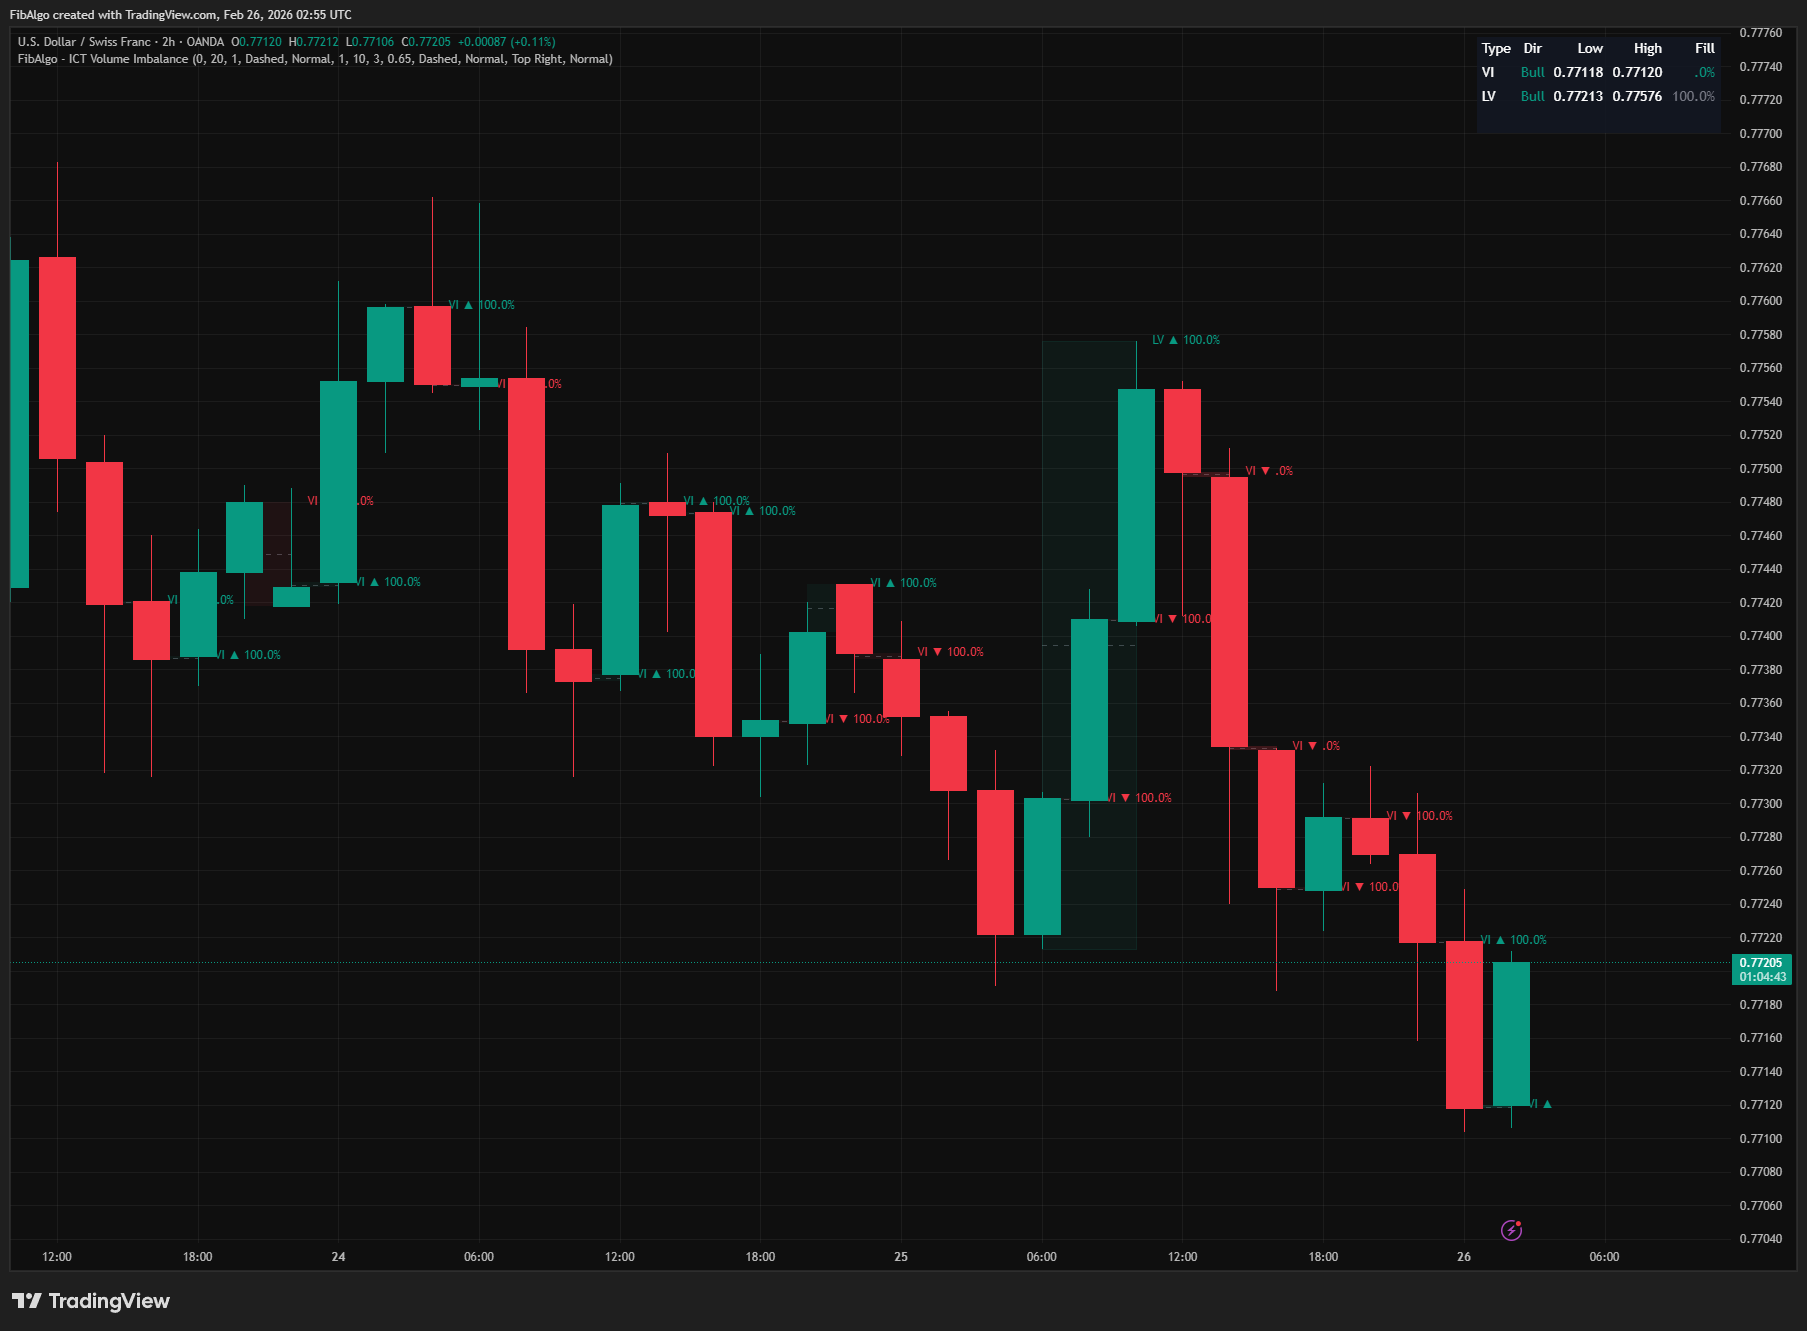
ICT Volume Imbalance
TradingView indicator that detects ICT Volume Imbalance and Liquidity Void inefficiencies with CE midlines and real-time fill tracking.
See Details