
Use this indicator directly on TradingView — the world's most popular charting platform.
What does the Perfect Retracement Zone indicator do?
FibAlgo - Perfect Retracement Zone is a dynamic Fibonacci retracement indicator that identifies statistically significant support and resistance zones by analyzing where historical price pivots have occurred within retracement ranges. Instead of relying on fixed Fibonacci levels alone, it calculates data-driven confidence zones based on actual pivot frequency distributions and tracks breakout confirmations with a star (★) rating system.
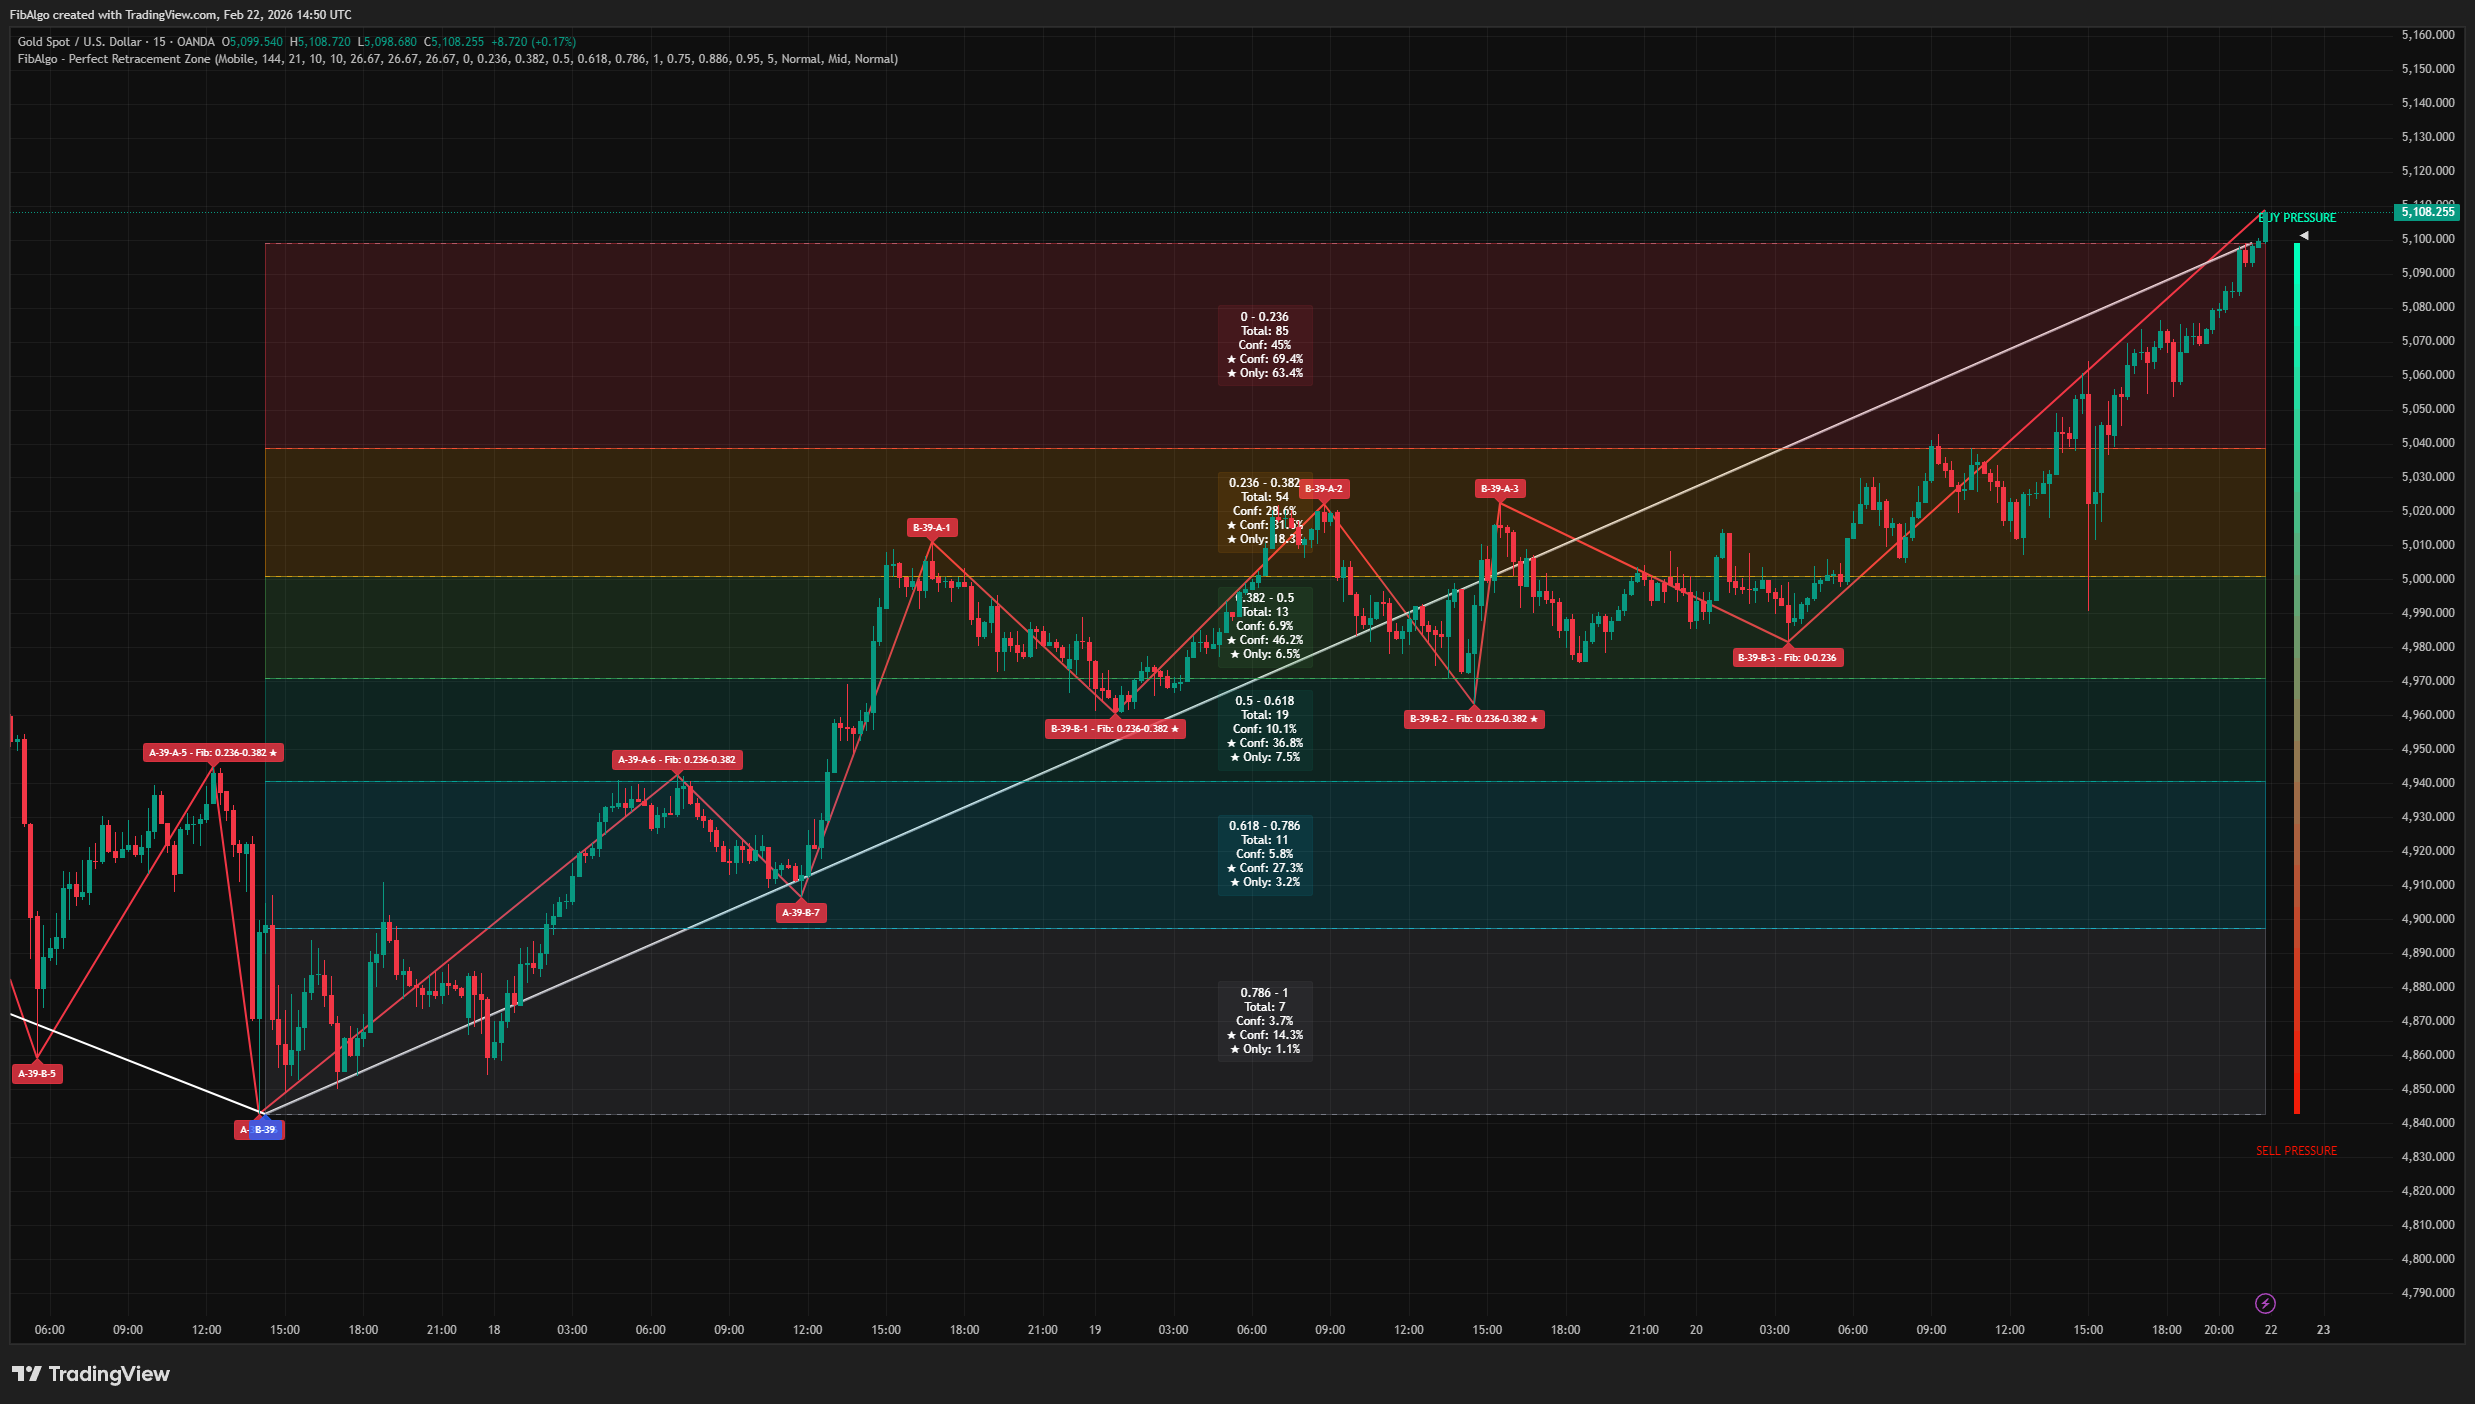
The indicator features a dual zigzag system (major trend + retracement), adaptive zone calculation, Fibonacci boxes with confidence statistics, and a real-time market pressure gauge.
Key Concepts
Dual Zigzag System
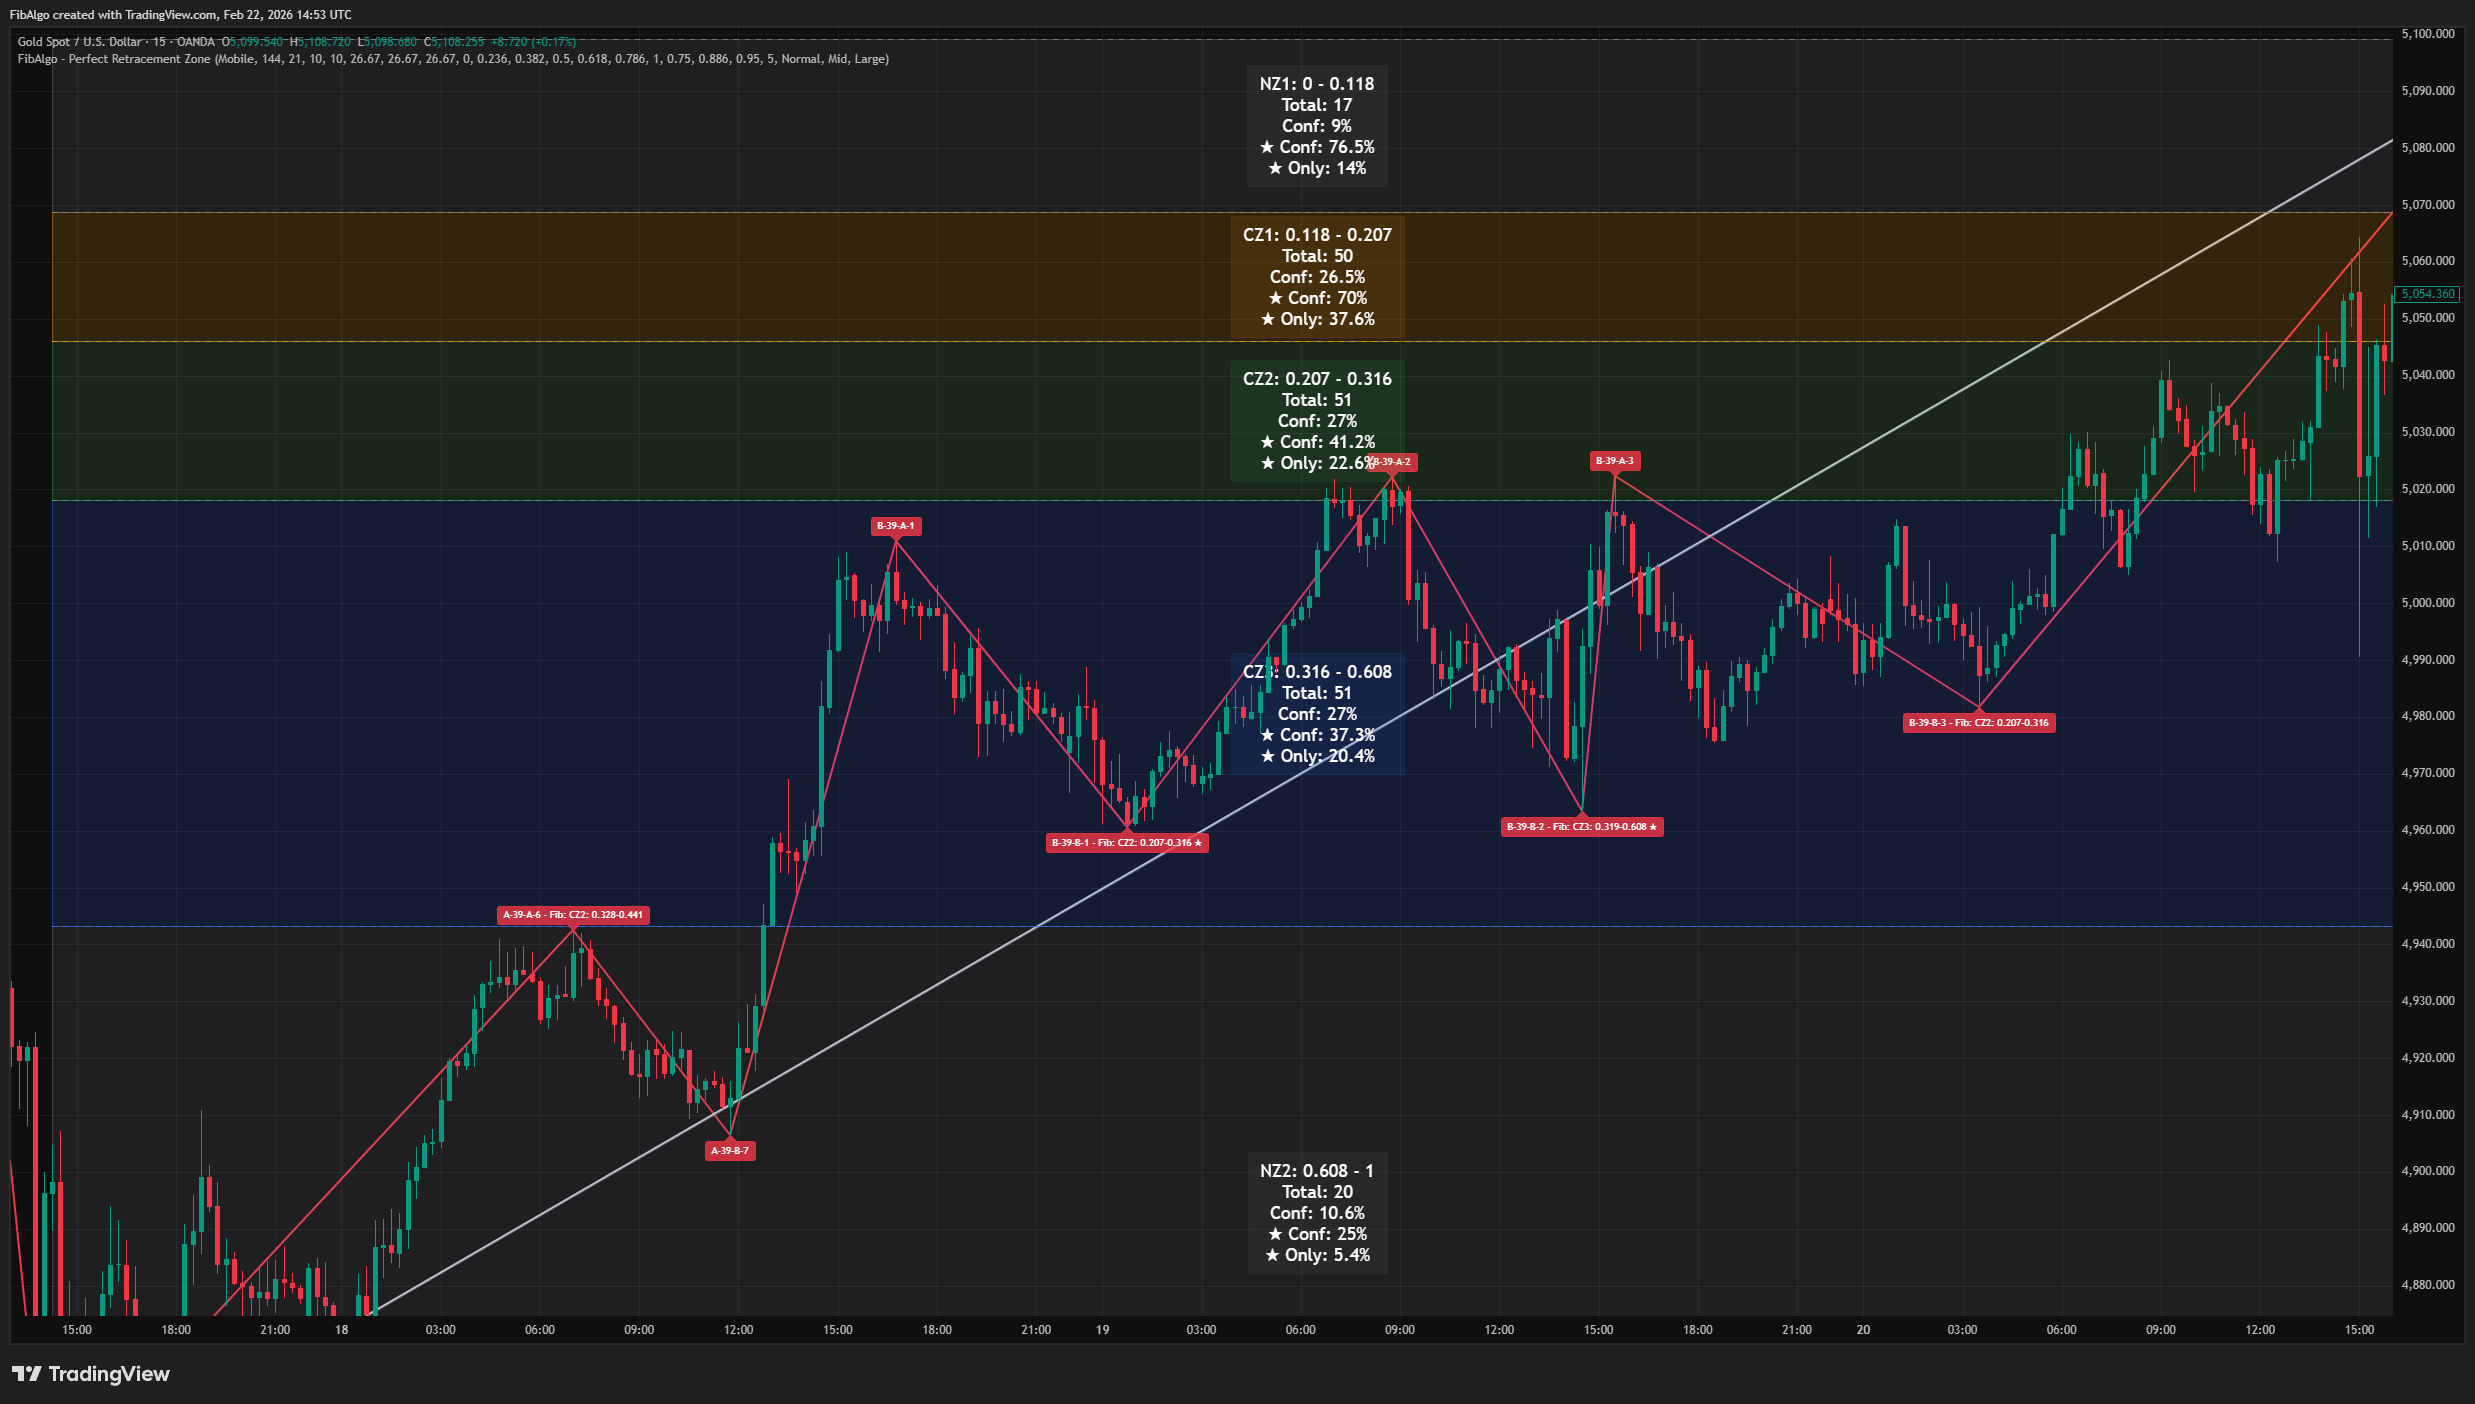
The indicator operates two zigzag calculations simultaneously. The major zigzag (configurable period, default: 144) identifies large trend reversals — peaks are labeled A-series and troughs are labeled B-series. Within each major trend, a secondary zigzag (default period: 21) detects retracement pivots. Each retracement pivot records its Fibonacci level relative to the major trend range, building a statistical profile over time.
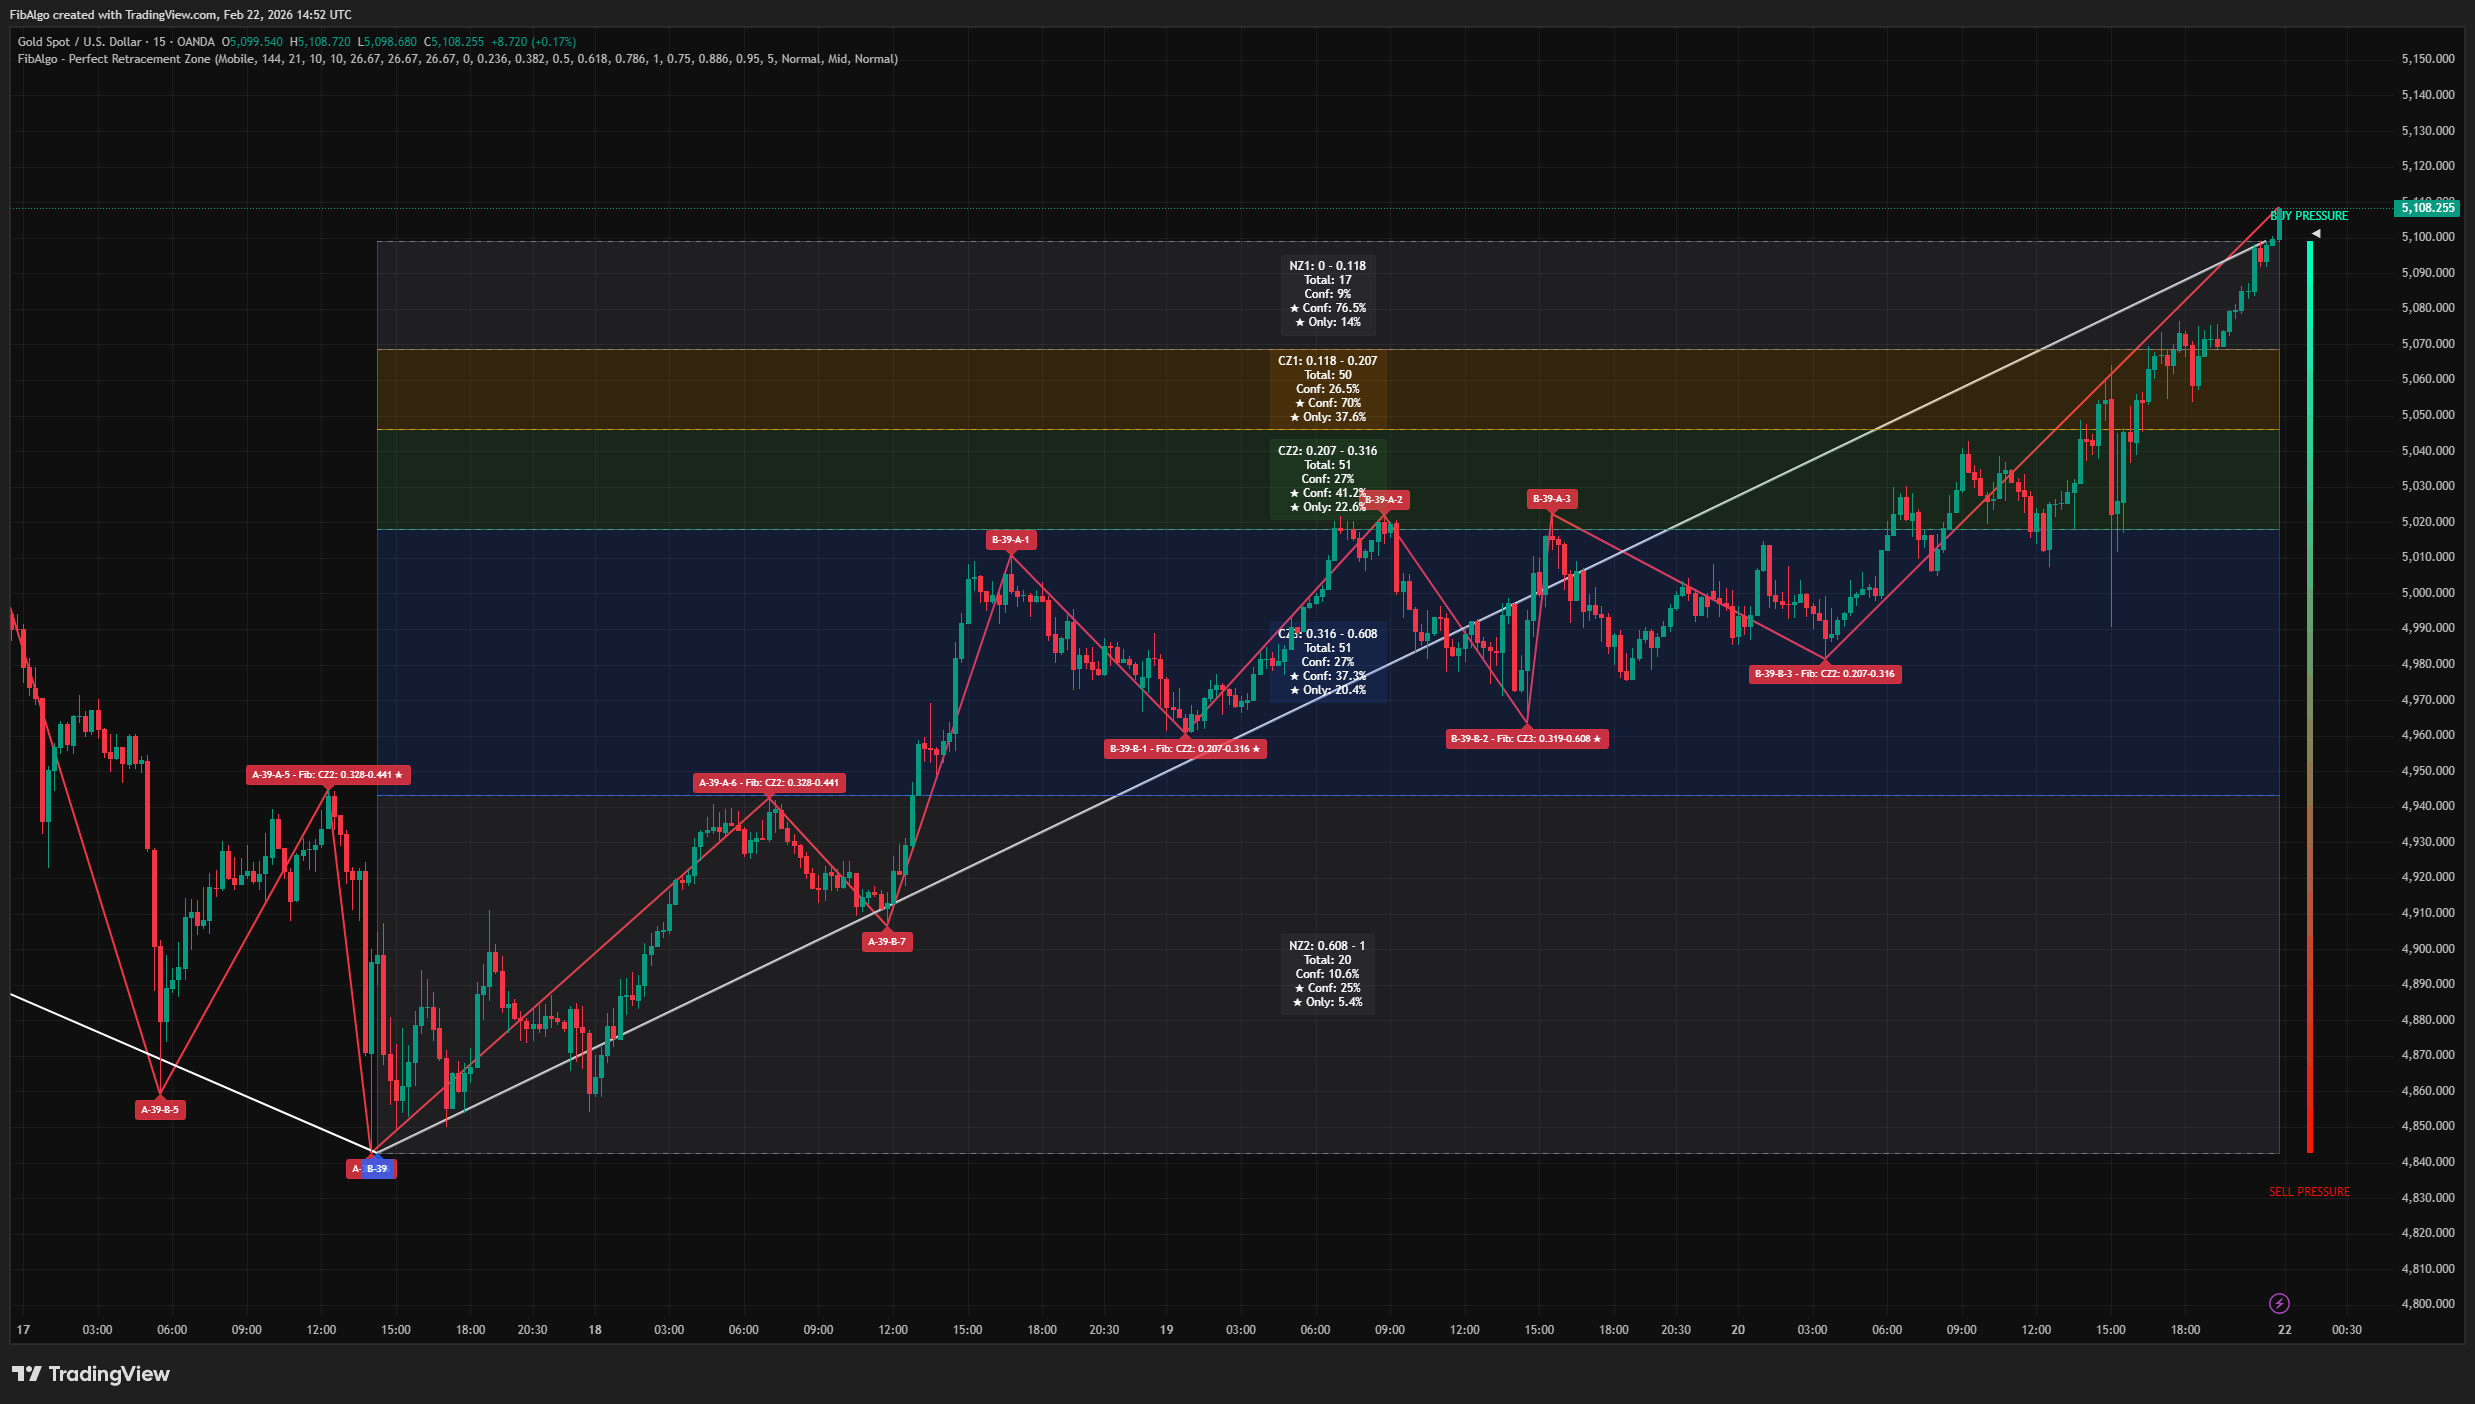
Confidence Zones vs. Noise Zones When Adaptive Fib Levels are enabled, the indicator sorts all historical retracement values and divides them into five zones based on configurable percentages: NZ1 (Noise Zone 1), CZ1, CZ2, CZ3 (Confidence Zones), and NZ2 (Noise Zone 2). Confidence zones contain the majority of historical retracements, while noise zones represent the tails of the distribution where retracements occur less frequently.
Star Rating System
Each retracement pivot receives a Fibonacci level label. If price subsequently breaks beyond the original major pivot (confirming the retracement led to a trend continuation), the label earns a star (★). The starred confidence percentage tracks how often retracements in each zone led to successful breakouts, providing a measure of zone quality beyond simple frequency.
Market Pressure Gauge
A real-time gauge positioned between the last completed pivot and the current developing pivot visualizes buying vs. selling pressure. The gauge uses accumulation/distribution calculations over a dynamic lookback window derived from the distance between the two most recent retracement pivots. A pointer indicates the current pressure level on a gradient from bearish (red) to bullish (green).
How does the Perfect Retracement Zone indicator work?
Step 1 — Major Trend Detection
A zigzag algorithm with a configurable period detects major peaks (A-series) and troughs (B-series). Each trend change establishes a new Fibonacci range between the completed pivot and the developing extreme.
Step 2 — Retracement Measurement
A secondary zigzag detects sub-pivots within each major trend. For each sub-pivot, the indicator calculates the Fibonacci retracement level relative to the major trend range. This value is stored for statistical analysis.
Step 3 — Zone Classification
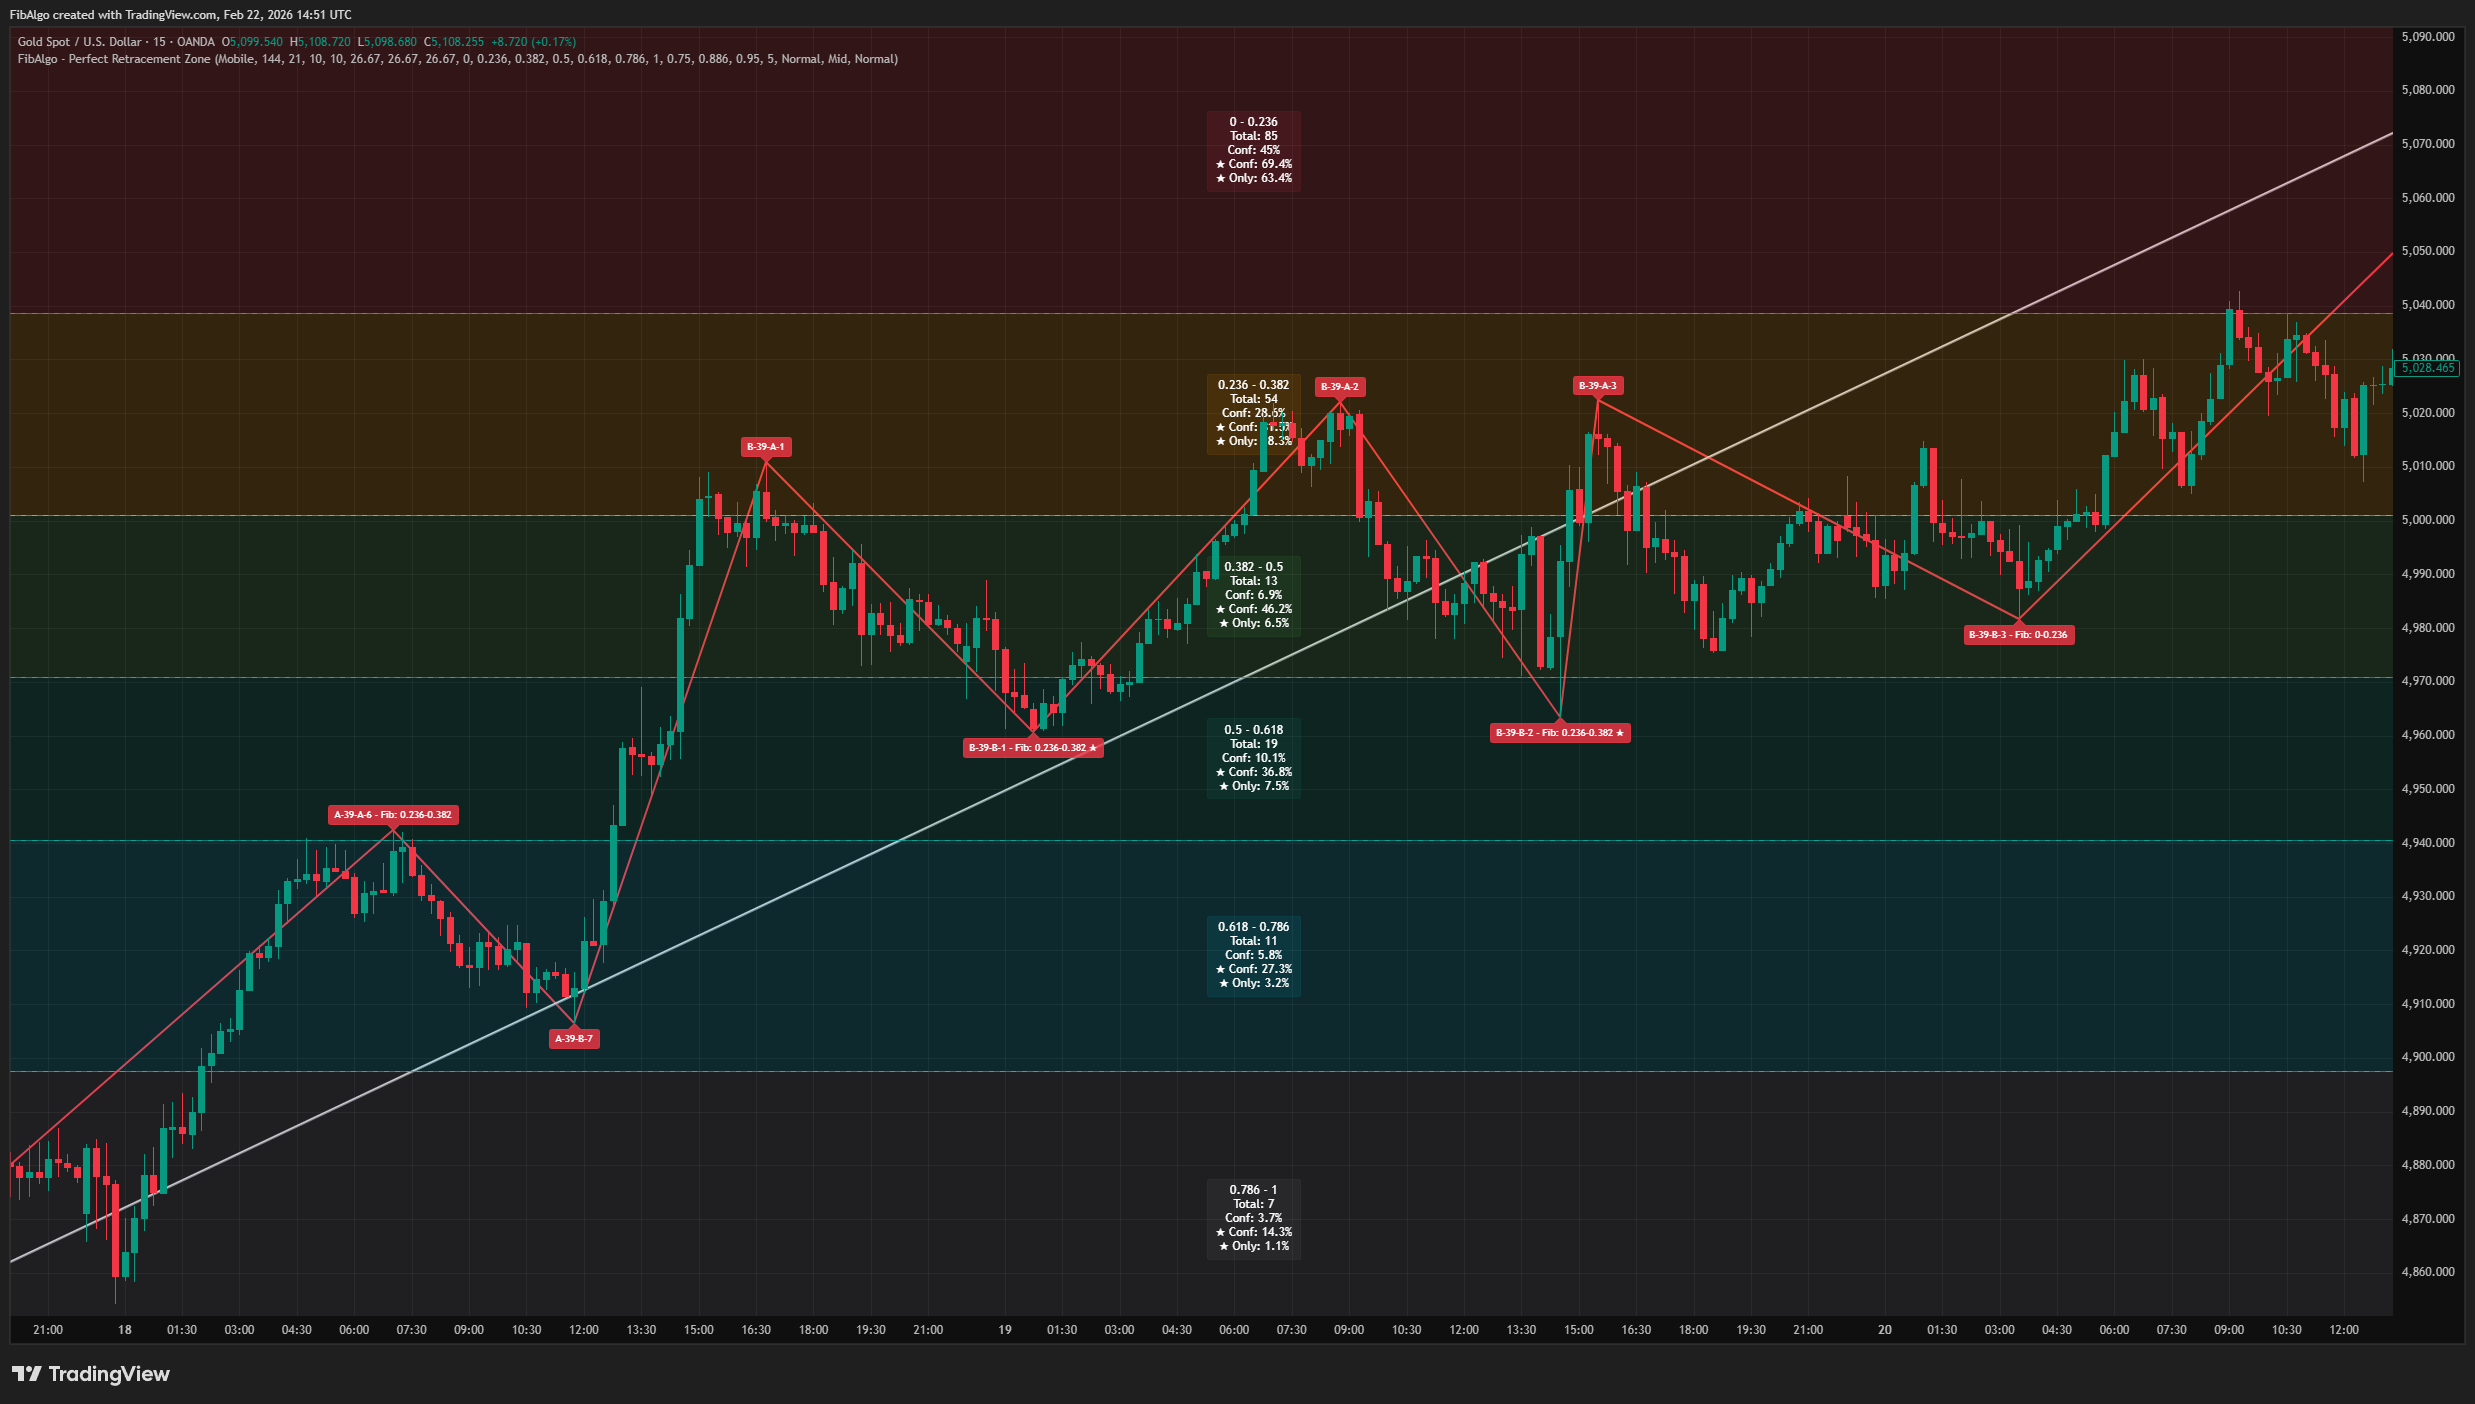
When Adaptive Fib Levels are enabled, all historical retracement values are sorted and divided into five zones (NZ1, CZ1, CZ2, CZ3, NZ2) using configurable percentage splits. In fixed mode, standard Fibonacci ratios (0.236, 0.382, 0.5, 0.618, 0.786, etc.) define the zone boundaries.
Step 4 — Confidence Tracking
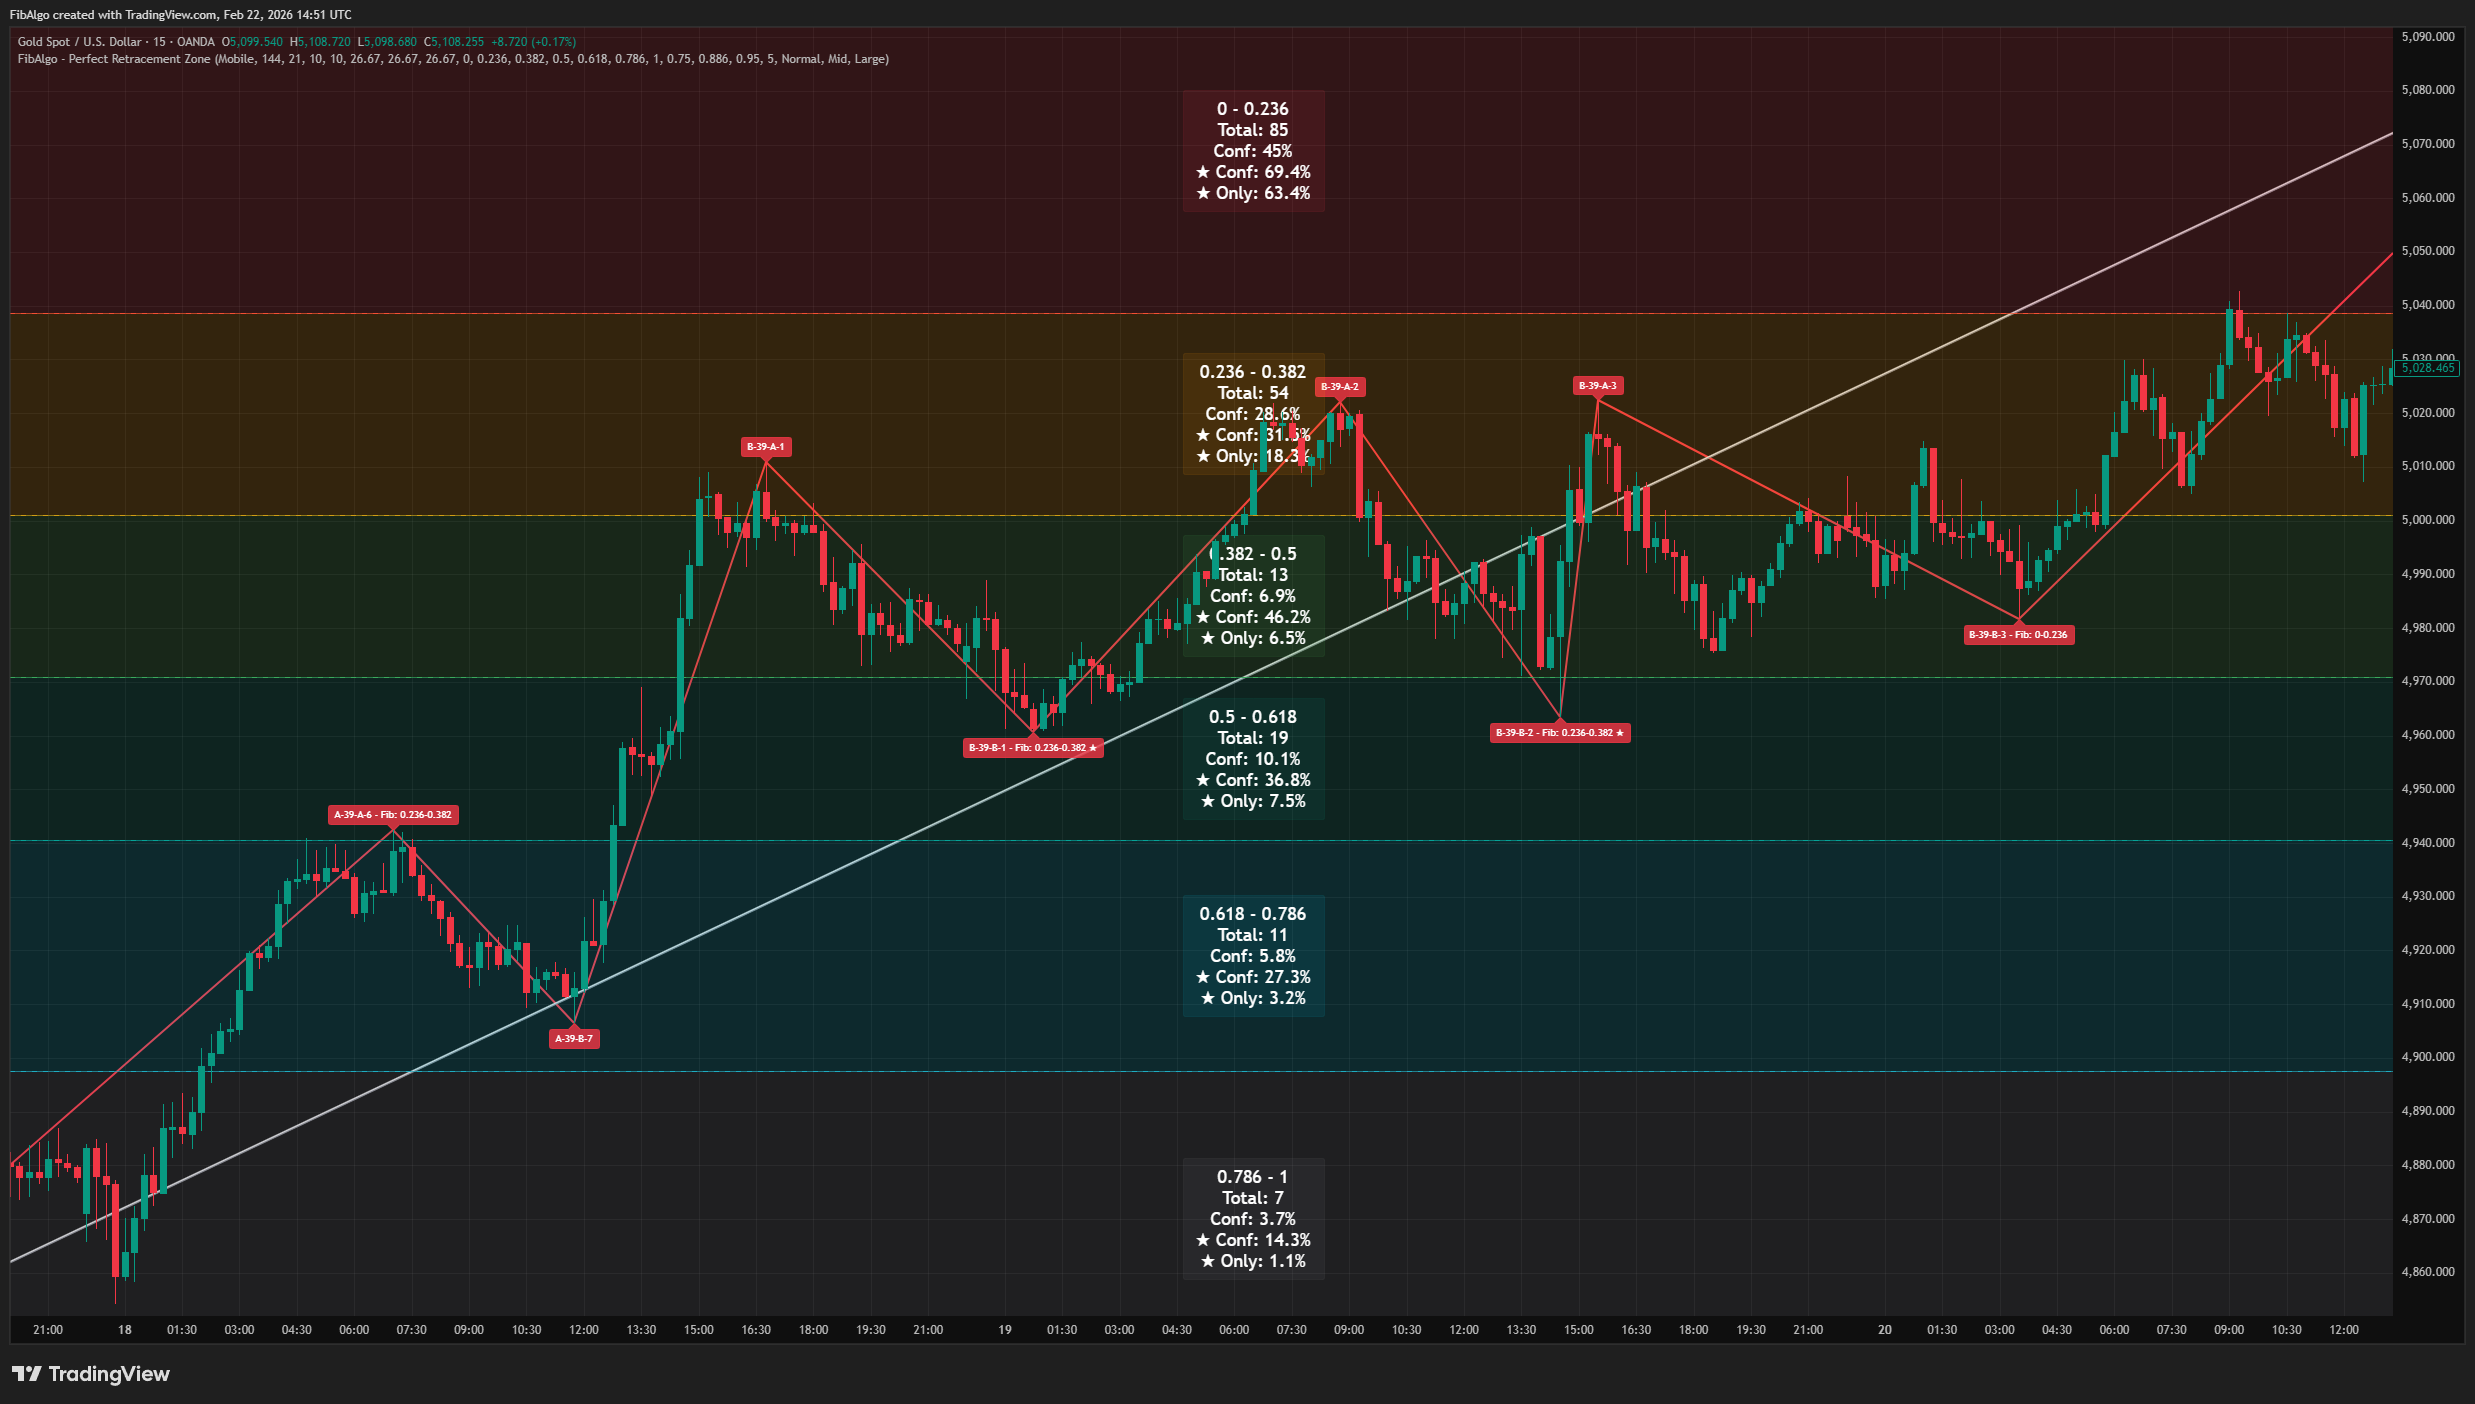
For each zone, the indicator tracks: total retracement count, confidence percentage (frequency relative to all retracements), star count (breakout confirmations), and starred confidence percentage. These metrics update in real time and are displayed on the Fibonacci boxes.
Step 5 — Visualization
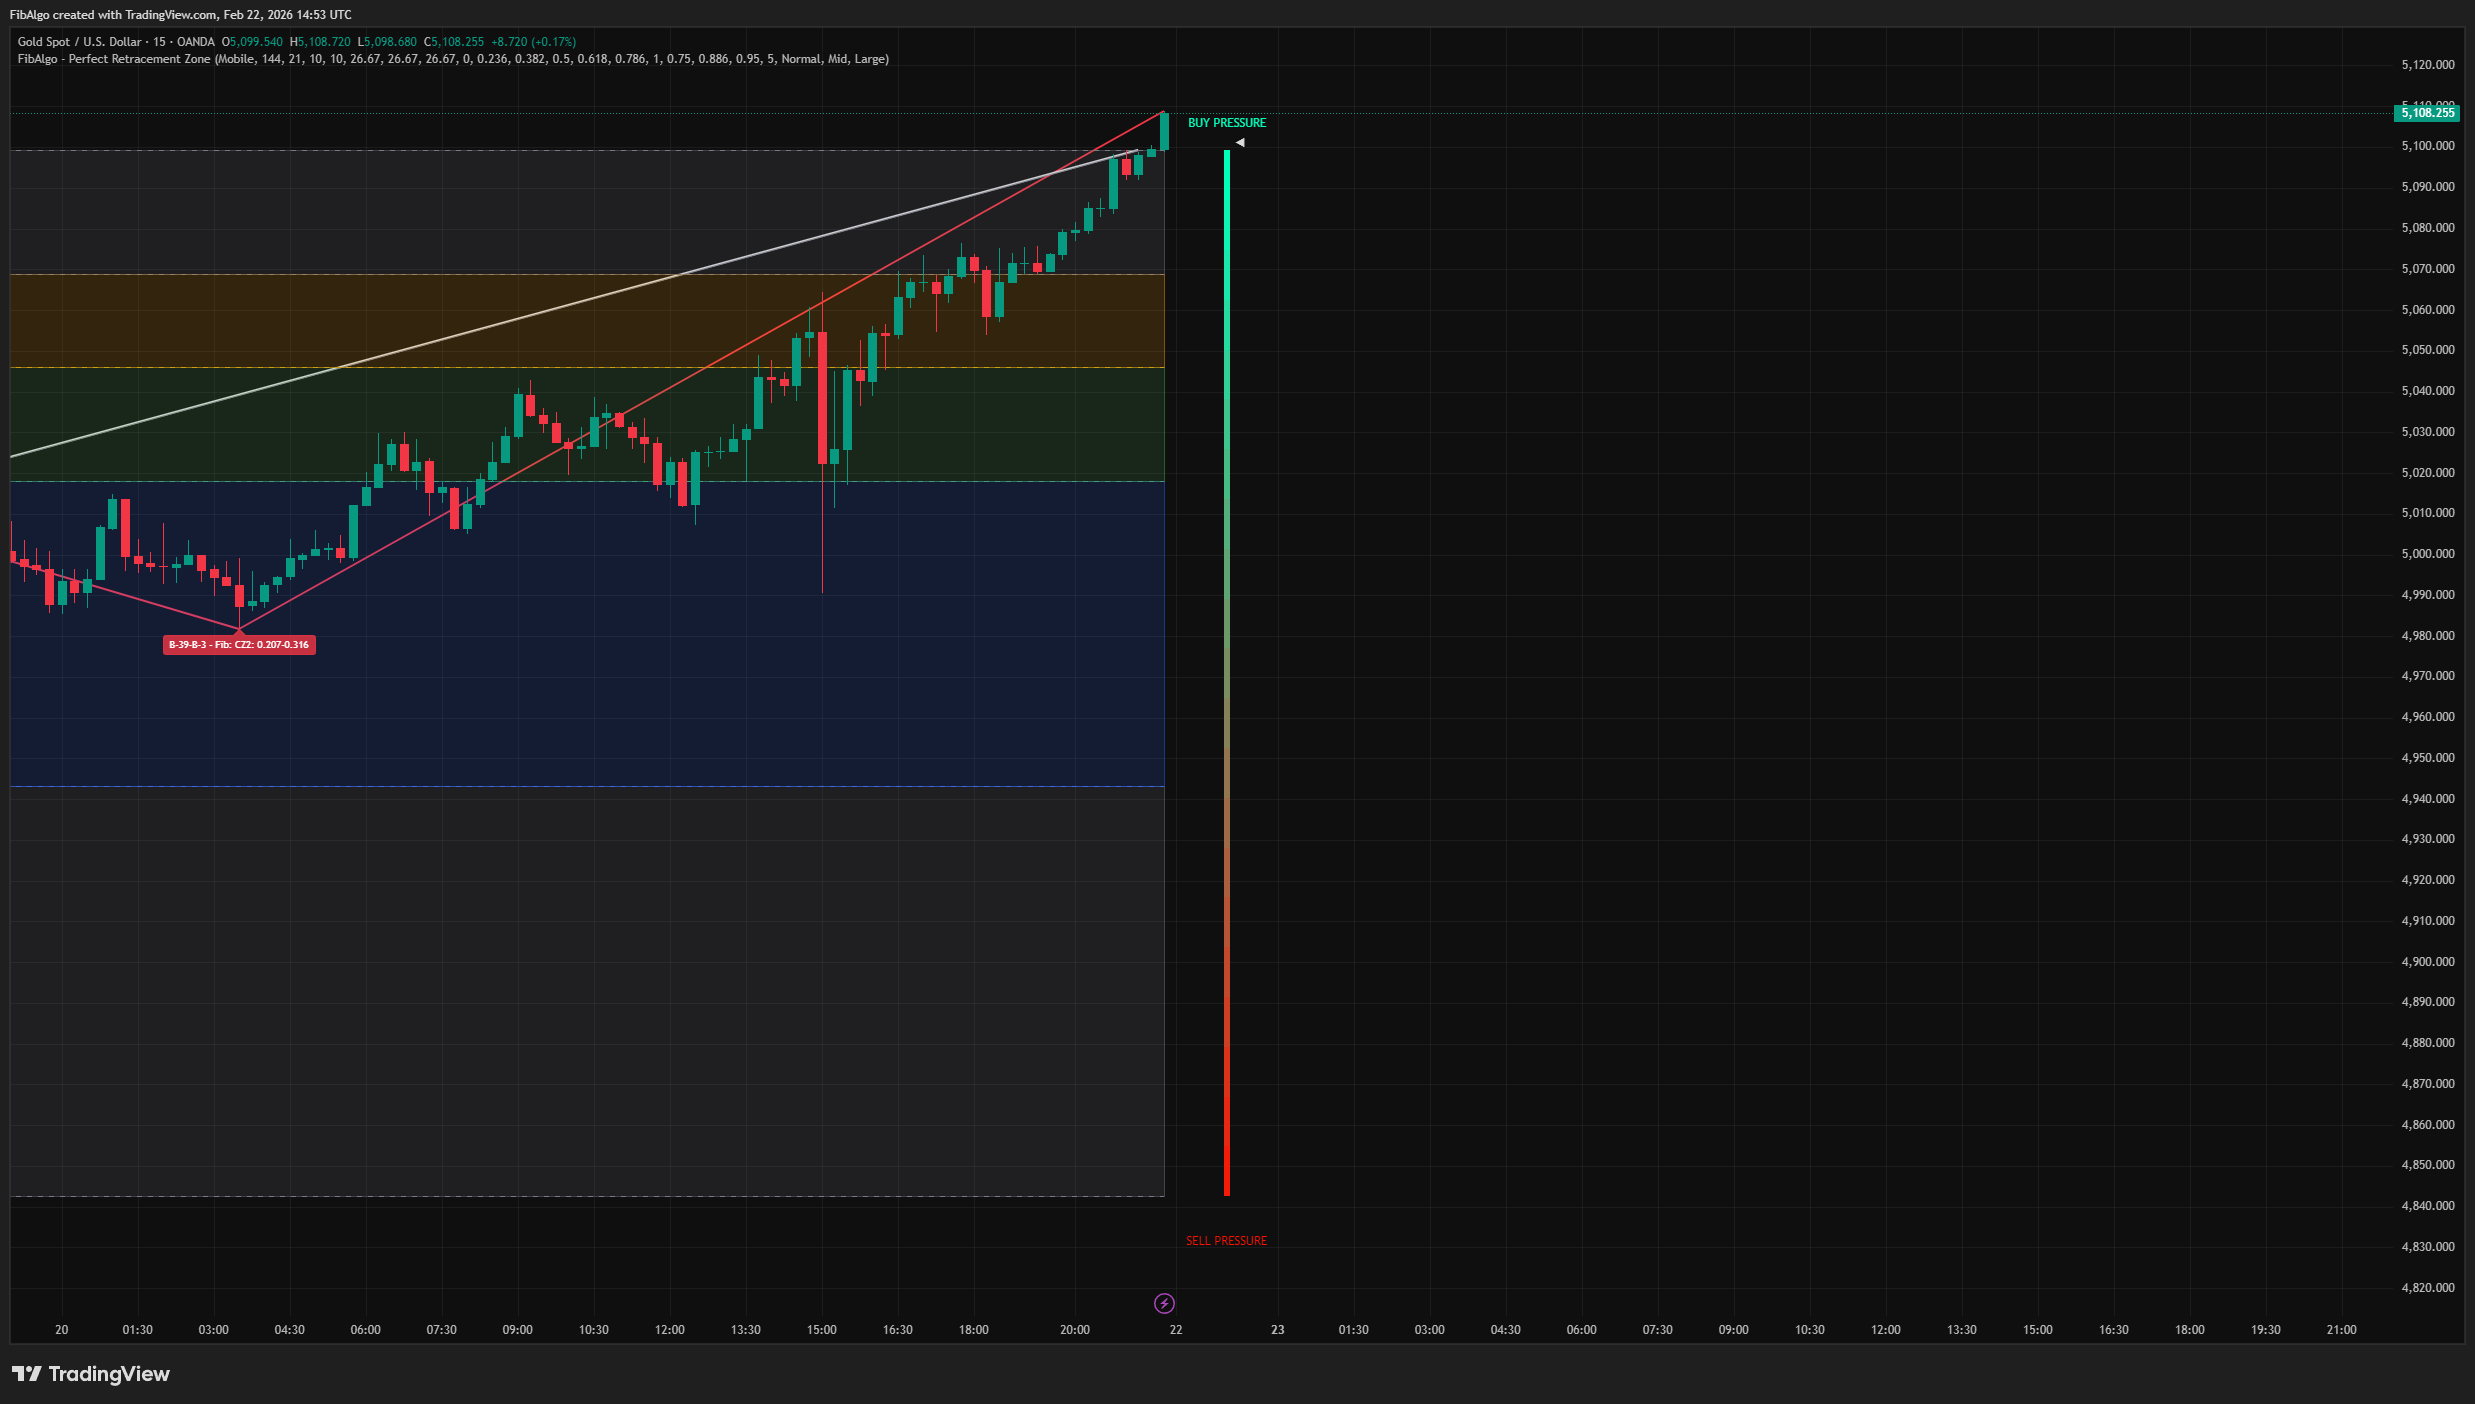
Dynamic Fibonacci lines and colored boxes are drawn between the last completed pivot and the current developing pivot. Each box displays its zone range, total count, confidence %, and starred confidence %. The market pressure gauge is drawn adjacent to the current price action.
Features
Dual Zigzag Analysis
- Major trend zigzag with configurable period (2–1404 bars).
- Retracement zigzag with separate period (2–144 bars).
- A-series (peak) and B-series (trough) labeling system.
- Independent color settings for each zigzag.
Adaptive Fibonacci Zones
- Data-driven zone boundaries calculated from historical retracement distributions.
- Five configurable zones: NZ1, CZ1, CZ2, CZ3, NZ2.
- Zone percentages adjustable (default: 10/26.67/26.67/26.67/10).
- Automatic normalization when percentages do not sum to 100.
Fibonacci Confidence Statistics
- Total retracement count per zone.
- Confidence percentage — how frequently retracements fall in each zone.
- Star (★) confirmation — tracks breakout success per zone.
- Starred confidence percentage — breakout rate within each zone.
Customizable Fibonacci Levels
- Up to 10 user-defined Fibonacci ratios.
- Individual toggle, ratio value, and color for each level.
- Levels automatically sorted and used for zone boundary calculation.
Market Pressure Gauge
- Real-time accumulation/distribution pressure visualization.
- Dynamic lookback based on distance between recent retracement pivots.
- Color gradient from bearish to bullish with pointer indicator.
- Configurable distance offset and label sizes.
Alert System
- Major Trend Change — triggers when a new A-series (peak) or B-series (trough) pivot is confirmed.
- Retracement Level Detected — triggers when a new sub-pivot with a calculated Fibonacci level forms.
- Star Confirmation — triggers when a retracement earns a star (breakout beyond the original pivot).
- Each alert type can be toggled individually. Messages include ticker, timeframe, pivot label, and price.
How to use the Perfect Retracement Zone indicator
Getting Started
Add the indicator to any chart. The default settings (Major Period: 144, Retracement Period: 21, standard Fibonacci levels) work well for most instruments on 4H to 1D timeframes.
Reading the Chart
- White zigzag lines = Major trend structure (A-series peaks, B-series troughs).
- Red zigzag lines = Retracement pivots within the major trend.
- Blue labels (A-1, B-1, etc.) = Major pivot labels.
- Red labels with Fib values = Retracement pivots showing their Fibonacci level.
- ★ on labels = Breakout confirmed — price broke beyond the original major pivot.
- Colored boxes = Fibonacci zones with confidence statistics.
- Pressure gauge = Real-time buying/selling pressure between pivot levels.
Key Inputs
- Major Trend Period (2–1404): Controls major zigzag sensitivity.
- Retracement Period (2–144): Controls sub-pivot detection sensitivity.
- Enable Adaptive Fib Levels: Switches between fixed Fibonacci ratios and data-driven zones.
- Zone Percentages: Configure the distribution split for NZ1, CZ1, CZ2, CZ3, NZ2.
- Fibonacci Levels 1–10: Customize individual ratios, colors, and visibility.
Suggested Workflow
1. Identify the current major trend direction from the A/B series labels.
2. Observe which Fibonacci zone the current retracement is approaching. 3. Check the confidence % and starred confidence % on the relevant box. 4. Use the market pressure gauge to assess real-time momentum within the zone. 5. Compare confidence metrics across zones to identify the most statistically significant areas.
Limitations
- This indicator is a technical analysis tool, not a trading system. It does not generate buy/sell orders.
- Confidence statistics are based on historical data. Past retracement-pivot relationships do not guarantee future behavior.
- The adaptive zone system requires sufficient historical retracement data (at least 20 data points) to produce meaningful boundaries. On newly listed instruments or very high timeframes, zones may default to input-based percentages.
- The star (★) confirmation is a backward-looking metric — it indicates past breakout success, not a prediction of future breakouts.
- Market pressure gauge calculations are volume-dependent. On instruments with unreliable volume data, gauge readings may be less informative.
- Very low Major Trend Period values will generate frequent trend changes and potentially noisy statistics.
The Fibonacci retracement calculations use standard Fibonacci ratios. The dual zigzag system, adaptive zone calculation based on retracement frequency distributions, star-based breakout confirmation tracking, confidence statistics engine, and the market pressure gauge are original contributions.
Trading involves risk. This indicator is an analysis tool, not financial advice: use it alongside your own analysis and risk management.
Frequently Asked Questions
What is the Perfect Retracement Zone indicator?
Dynamic Fibonacci retracement indicator for TradingView that identifies statistically significant support and resistance zones using pivot frequency analysis.
Is Perfect Retracement Zone free to use on TradingView?
Perfect Retracement Zone is an exclusive indicator included in the FibAlgo Ultimate and Lifetime plans. Visit fibalgo.com for pricing details.
How do I add Perfect Retracement Zone to my TradingView chart?
Subscribe to FibAlgo, then search for "Perfect Retracement Zone" in the TradingView Indicators panel. Once your account is linked, the indicator will be available in your invite-only scripts.
What trading strategies work best with Perfect Retracement Zone?
Perfect Retracement Zone suits trend-pullback strategies on 4H to daily charts. Take the major trend from the A and B pivot labels, see which Fibonacci zone the current retracement is approaching, and compare the confidence and starred confidence percentages across zones to find where past retracements ended most often. The market pressure gauge then shows whether buying or selling pressure builds as price reaches the zone.
Learn More
- Fibonacci Trading Strategy: The Complete GuideMaster Fibonacci retracement, extension, and time zones for crypto and forex trading. Learn how institutional traders use Fibonacci levels.
- AI Trading Indicators: How Machine Learning Changes Technical AnalysisHow AI-assisted trading indicators work: machine-learning pattern recognition, adaptive parameters and their limits, explained for traders.
- Best TradingView Indicators: Top 15 Tools Every Trader NeedsComprehensive ranking of the best TradingView indicators for crypto, forex, and stocks. Includes setup guides, settings optimization, and strategy combinations.
Unlock exclusive FibAlgo tools
Get every exclusive FibAlgo indicator on TradingView with Ultimate or Lifetime.
Related indicators
View All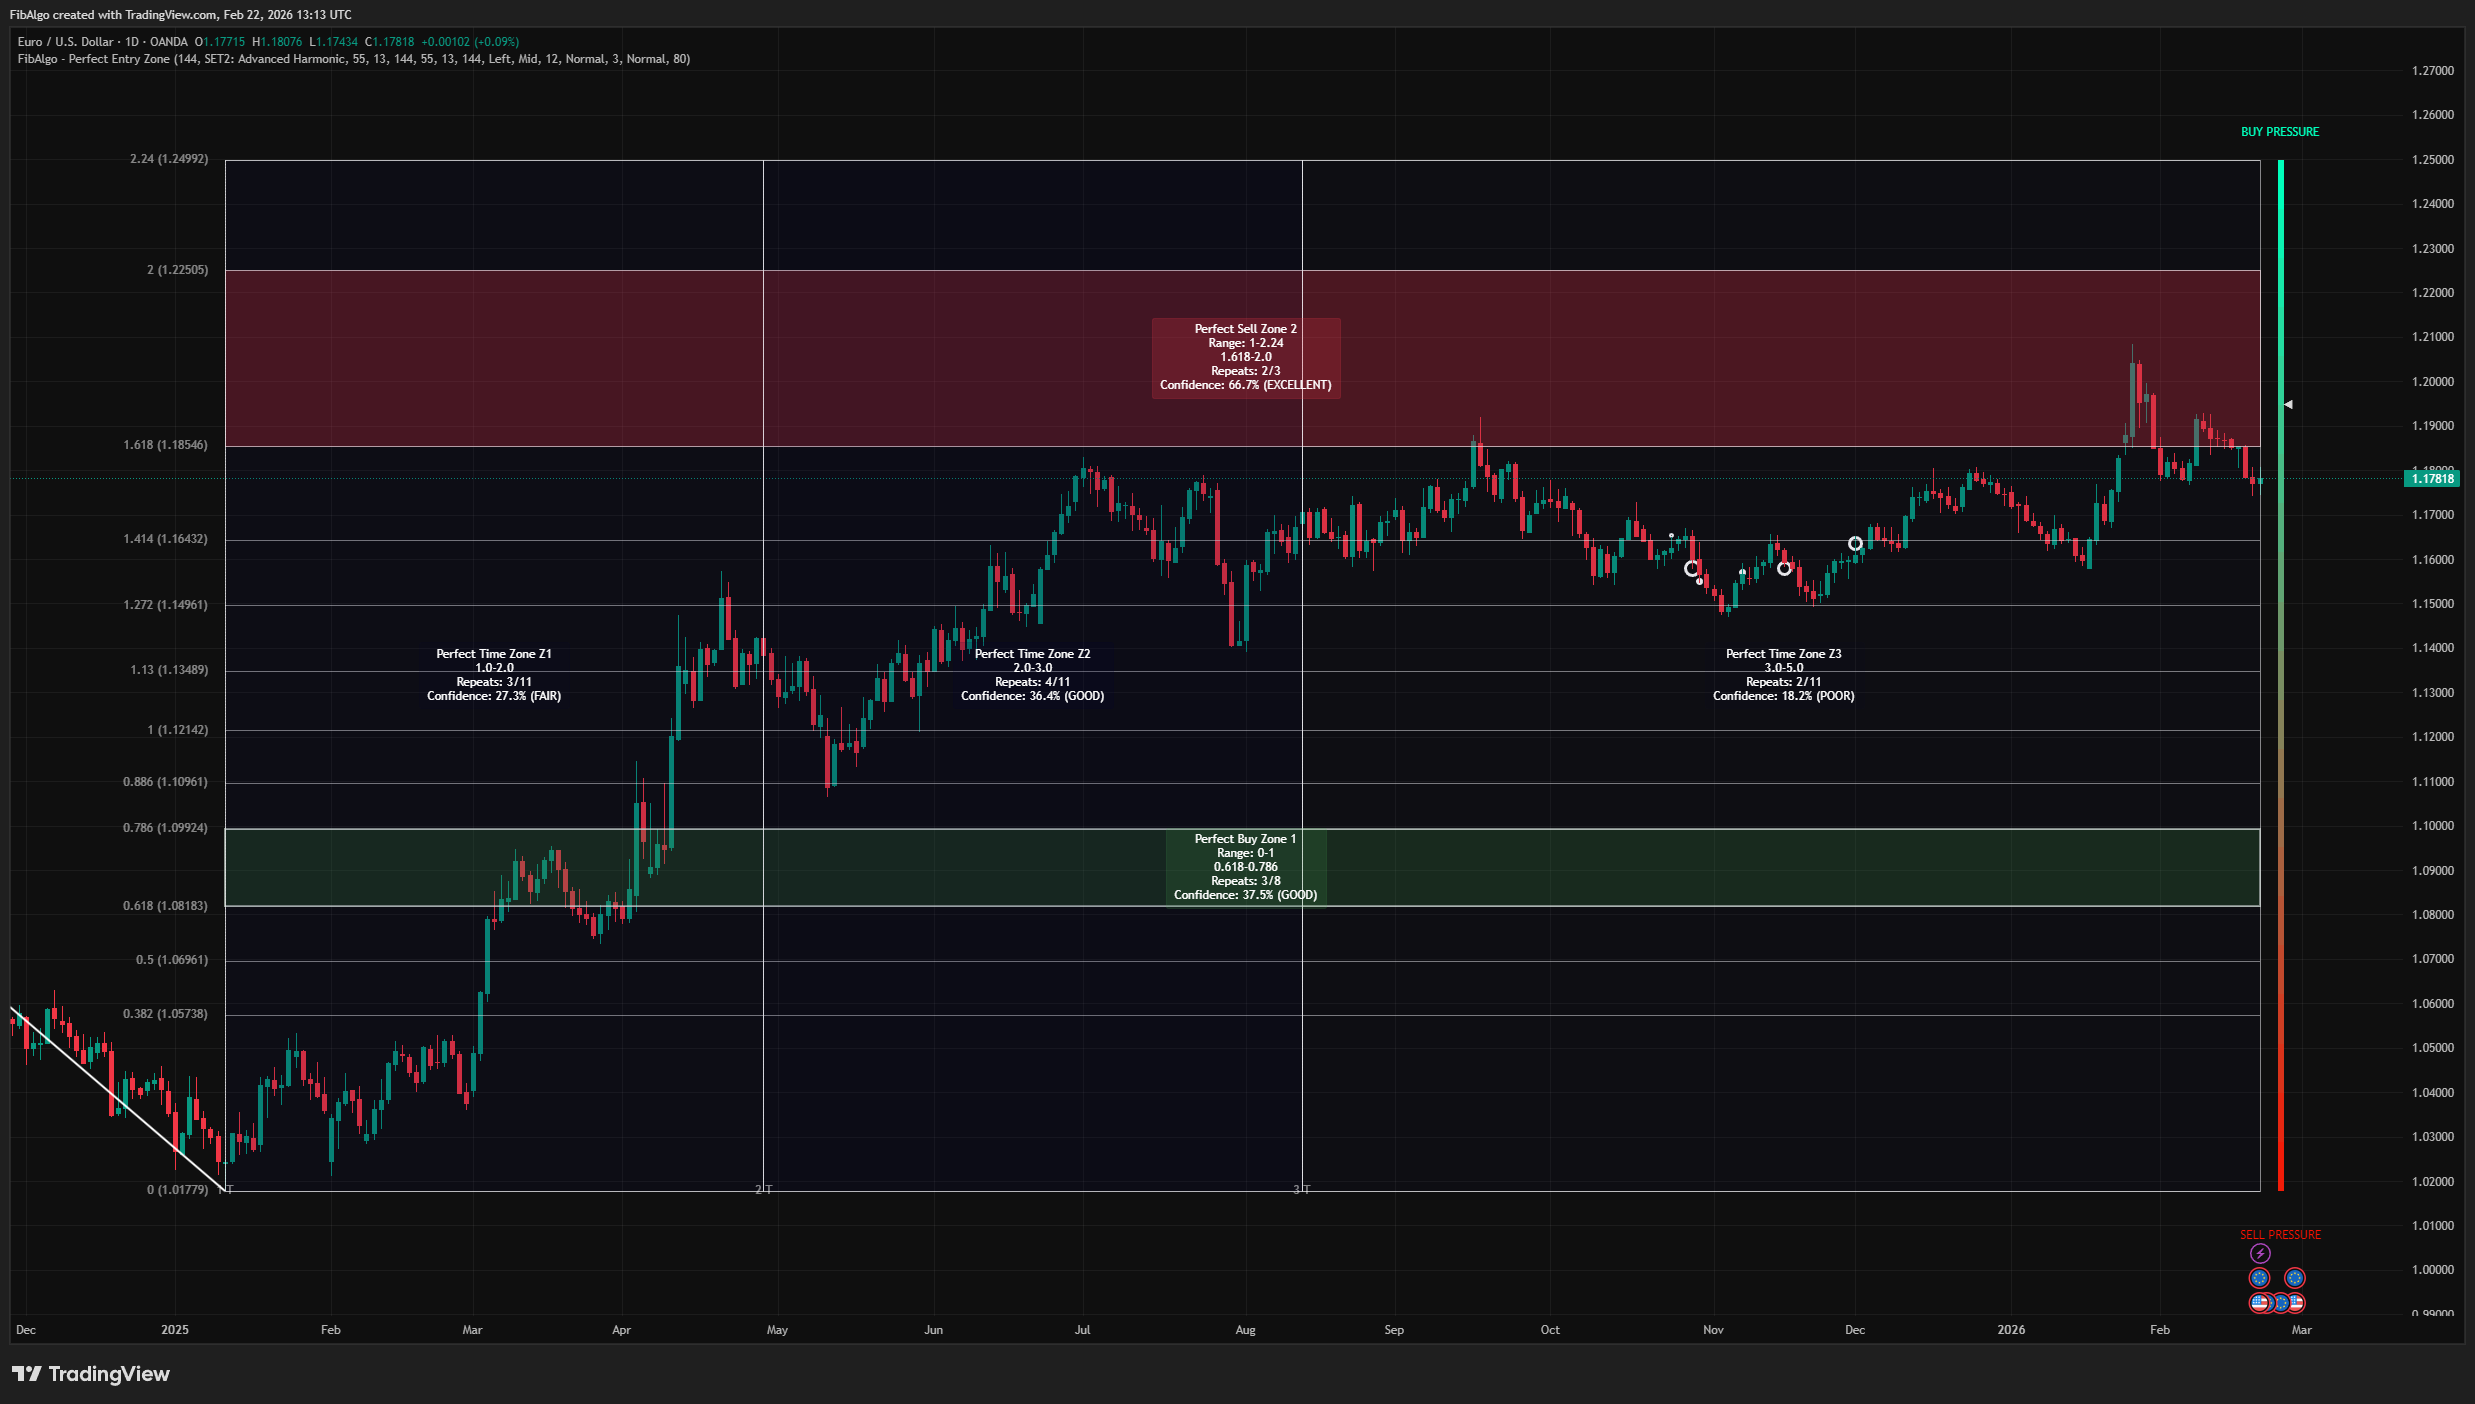
Perfect Entry Zone
Adaptive Fibonacci-based support and resistance indicator for TradingView that identifies recurring retracement zones and projects Fibonacci time zones.
See Details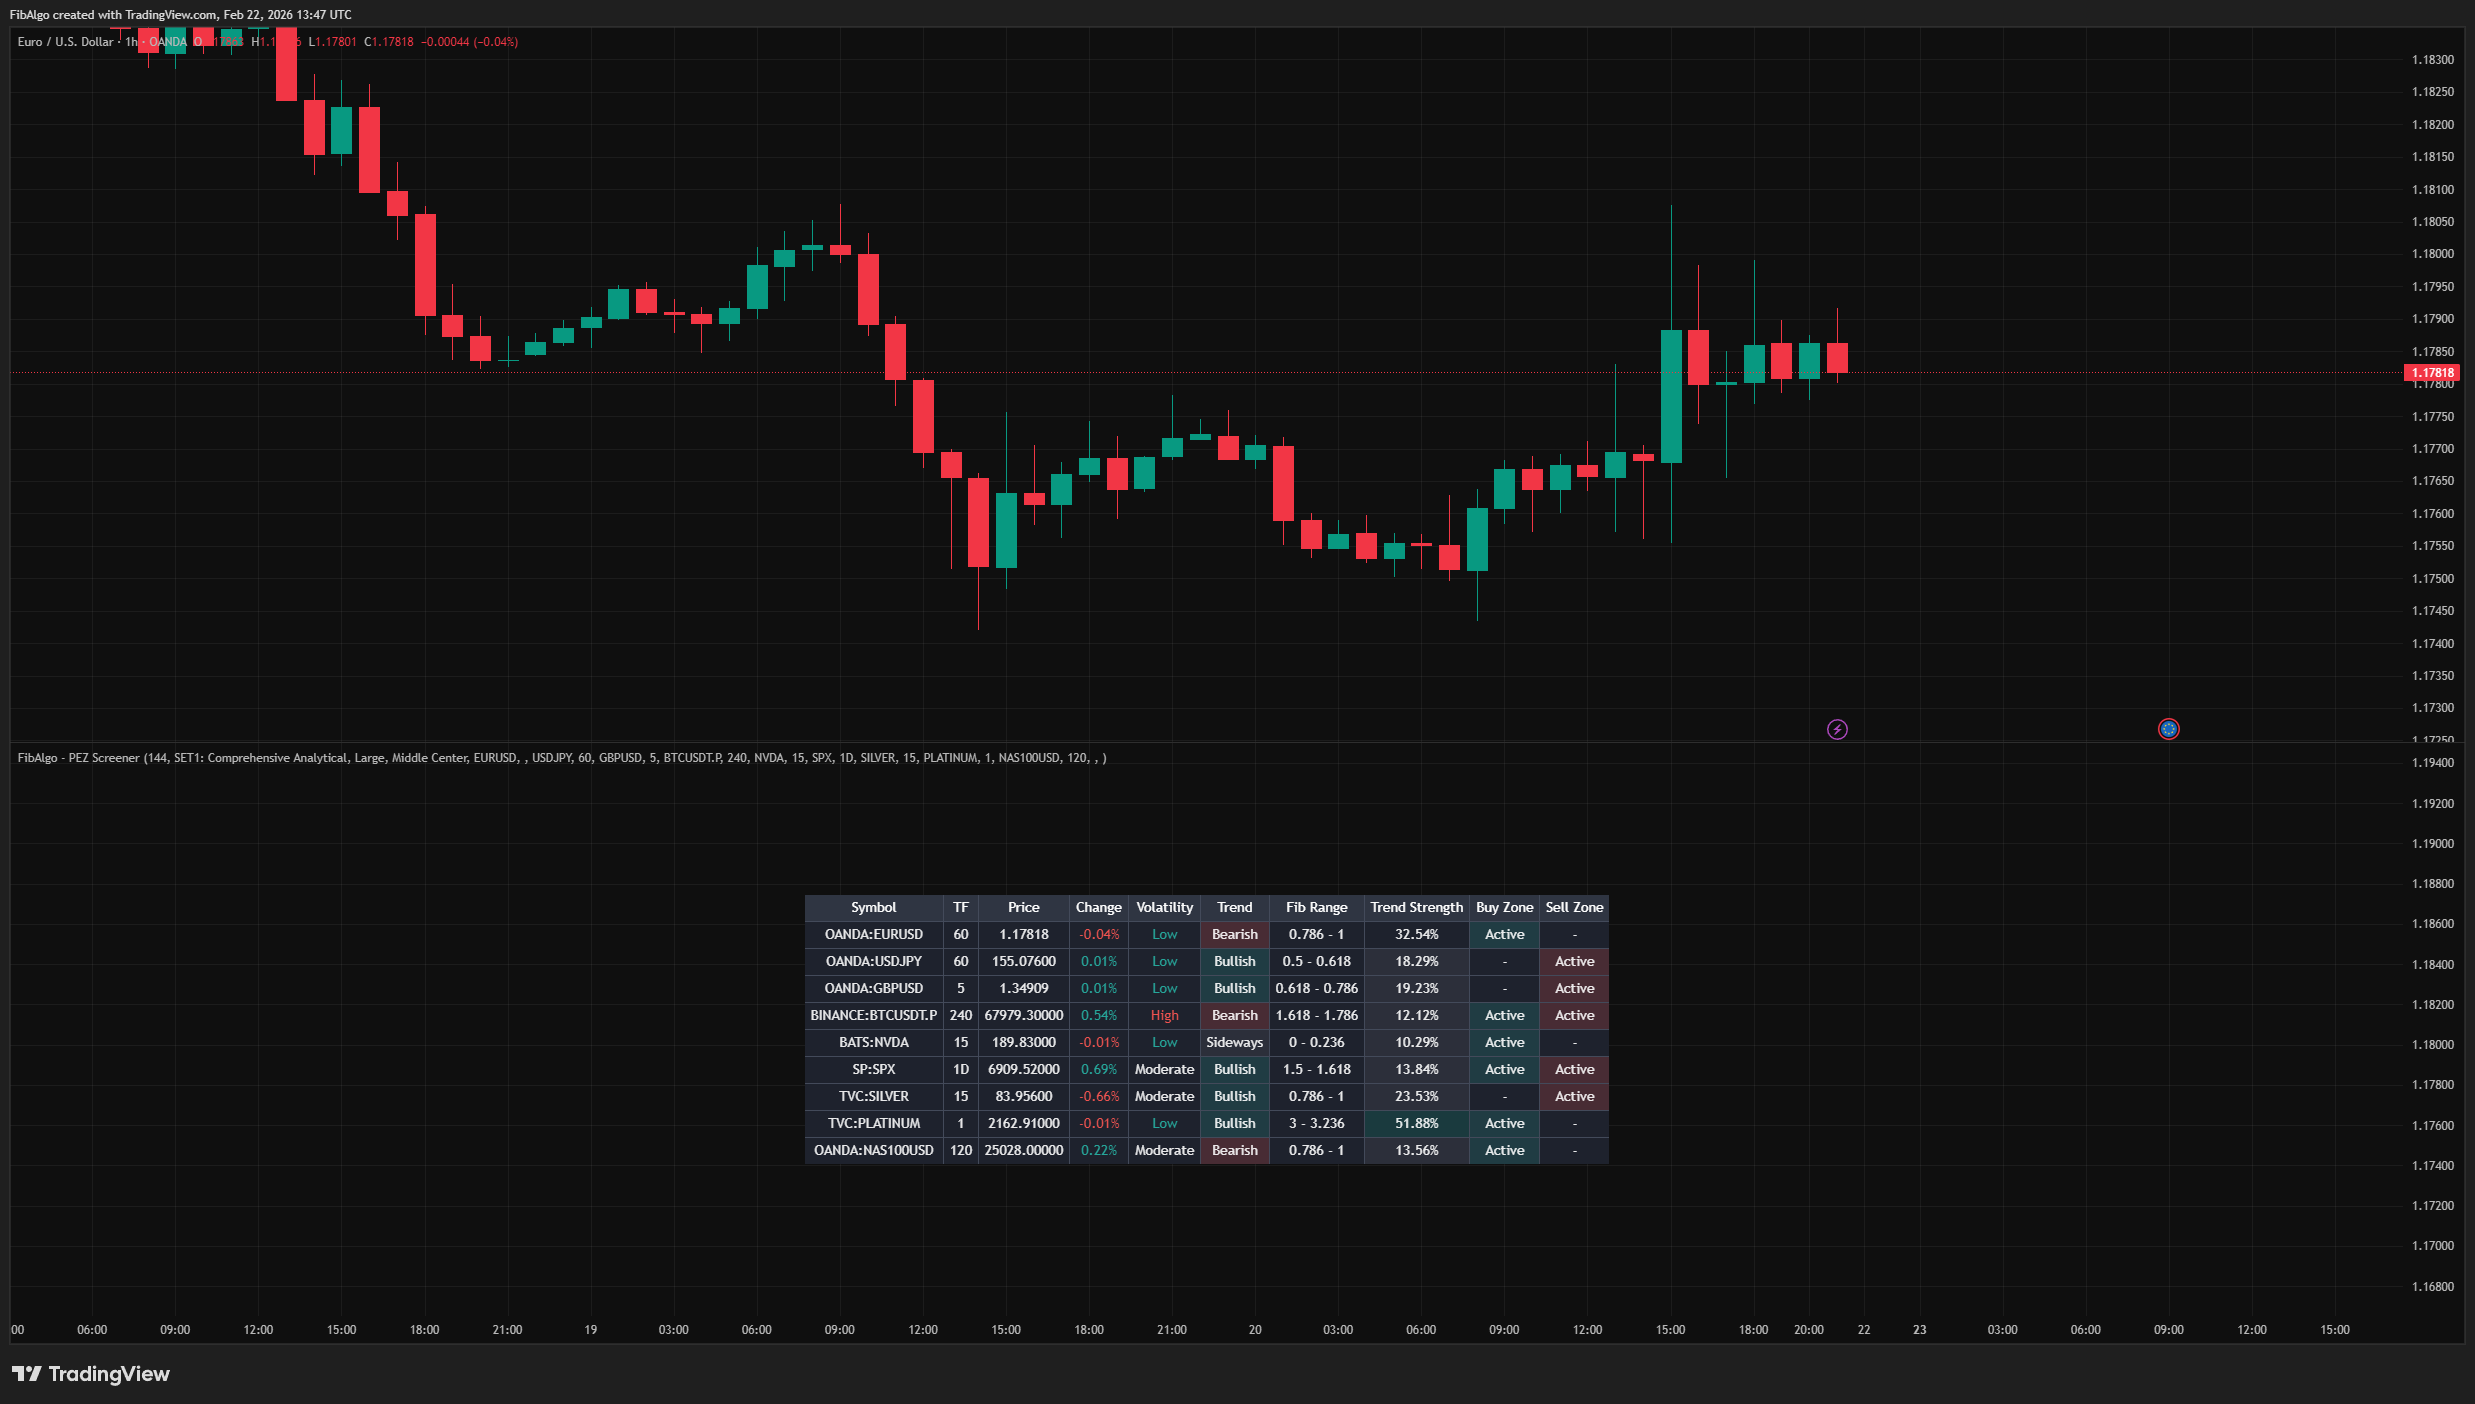
Screener (PEZ)
Multi-symbol TradingView screener that monitors up to 10 symbols simultaneously with Fibonacci range positions, trend direction, and zone status.
See Details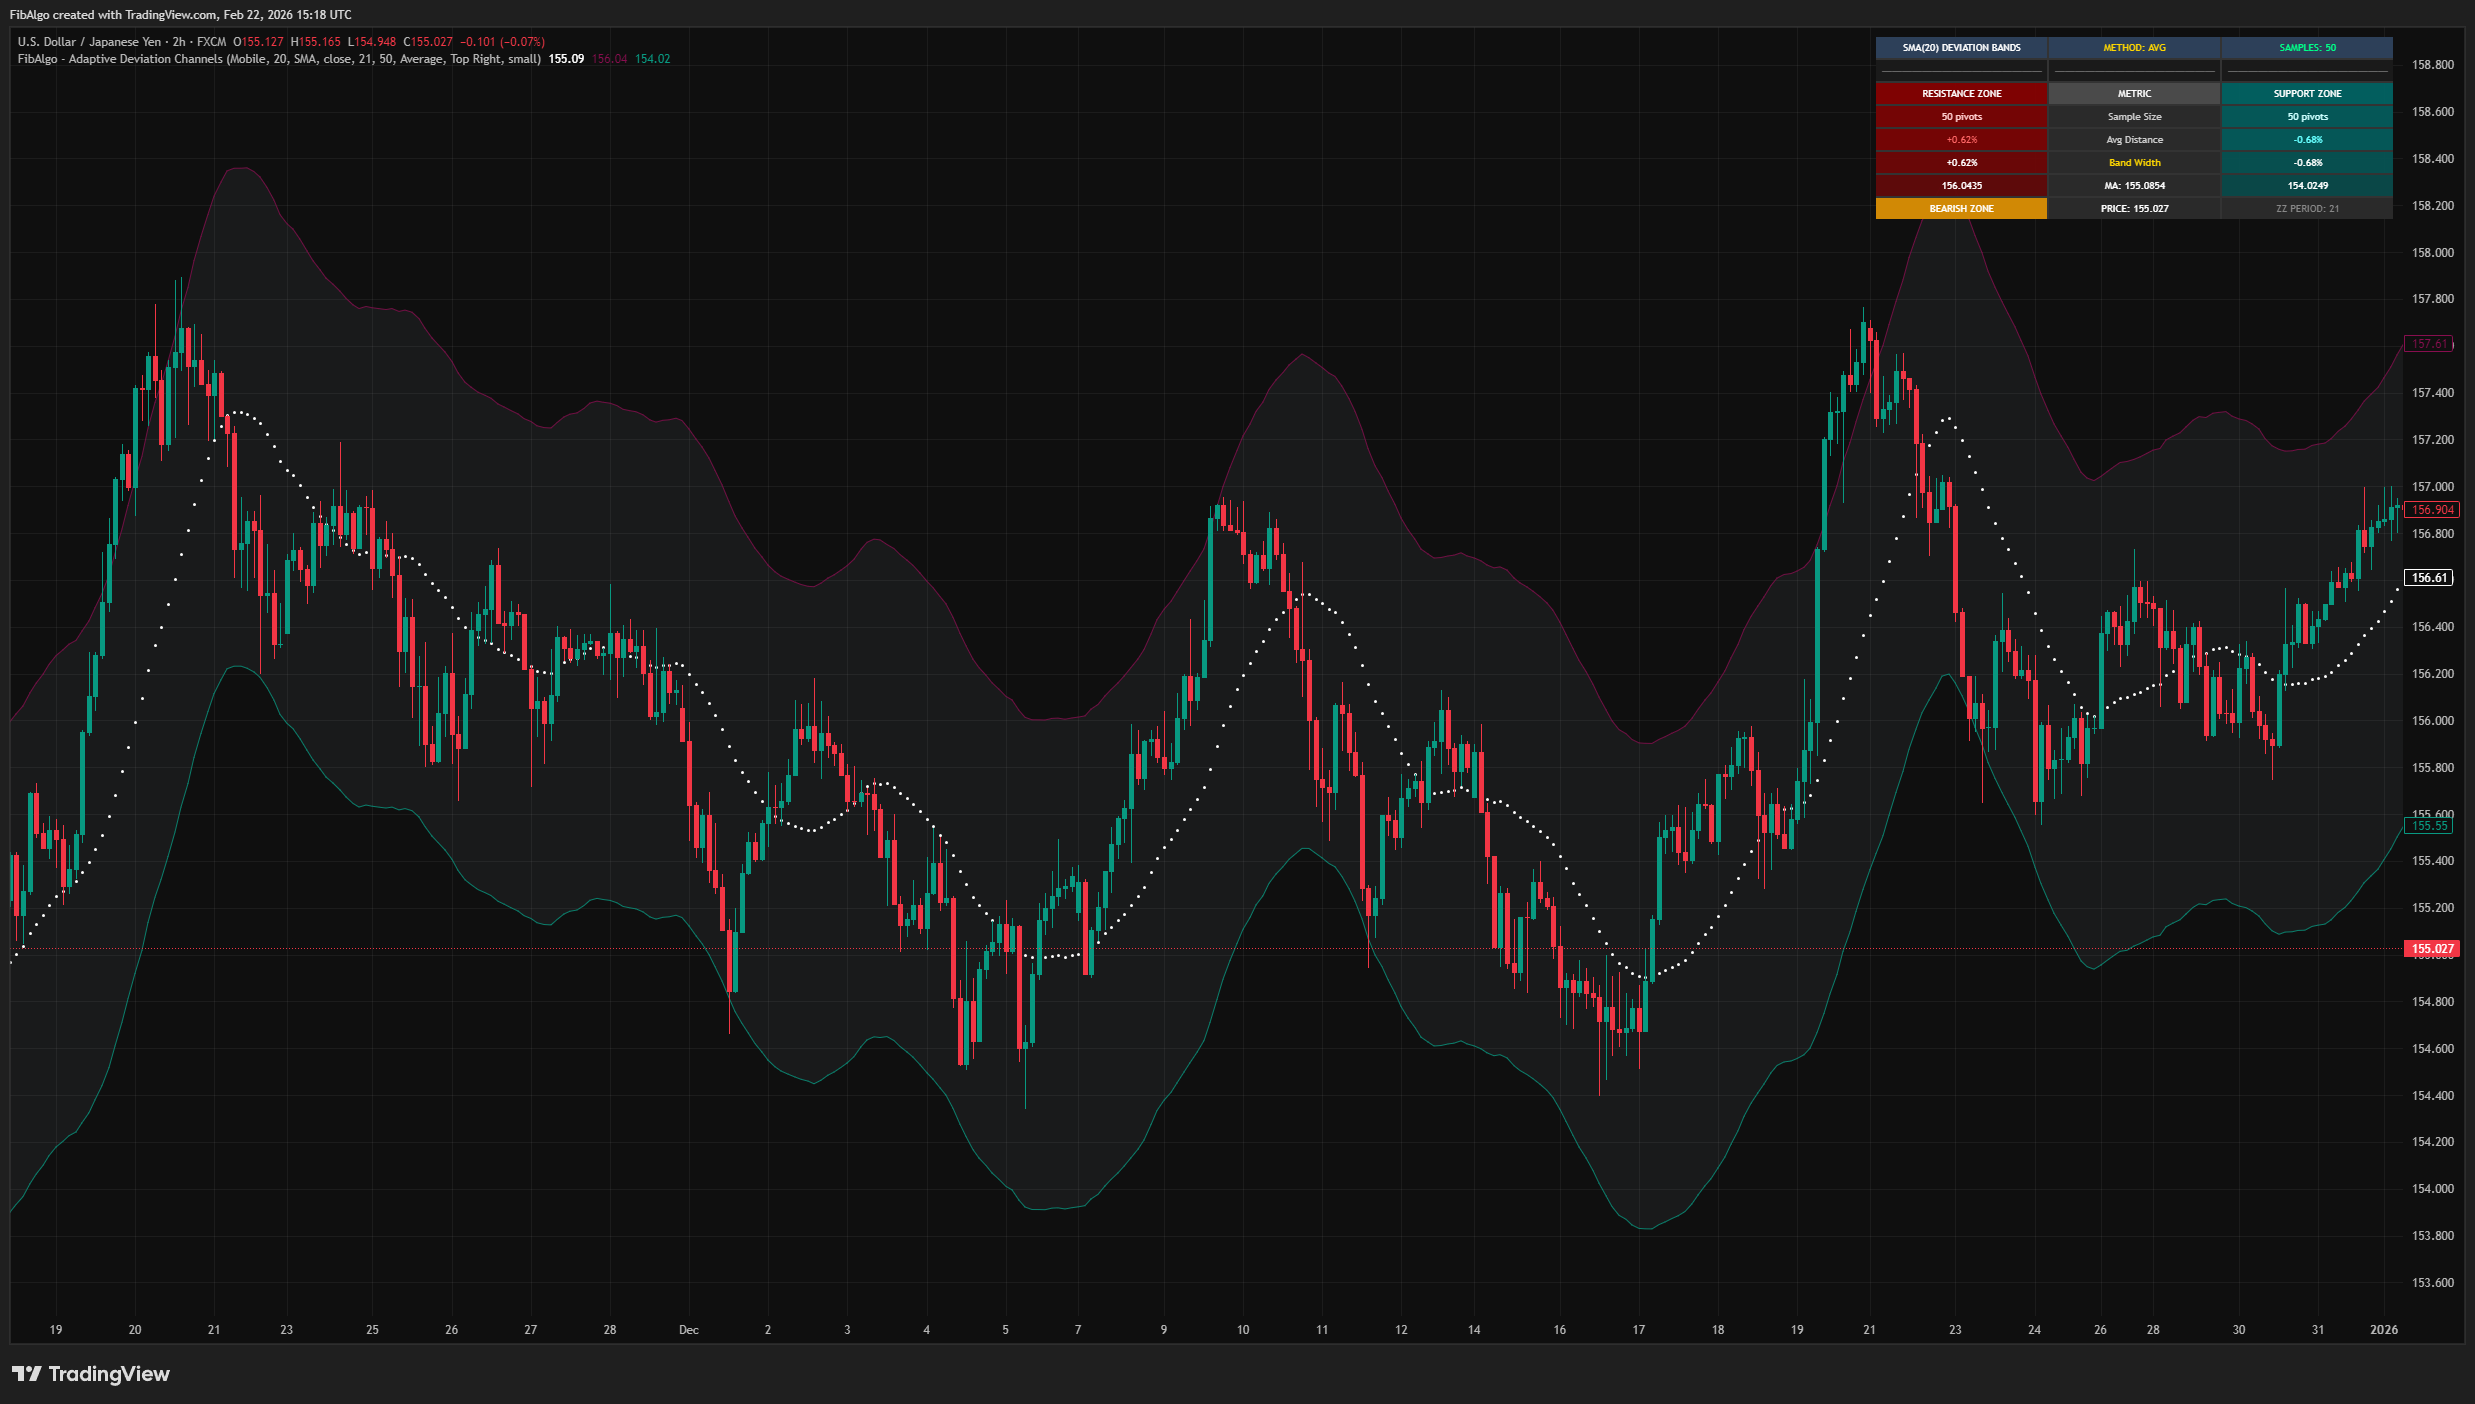
Adaptive Deviation Channels
TradingView indicator that creates dynamic support and resistance zones by analyzing historical pivot point deviations from a central moving average.
See Details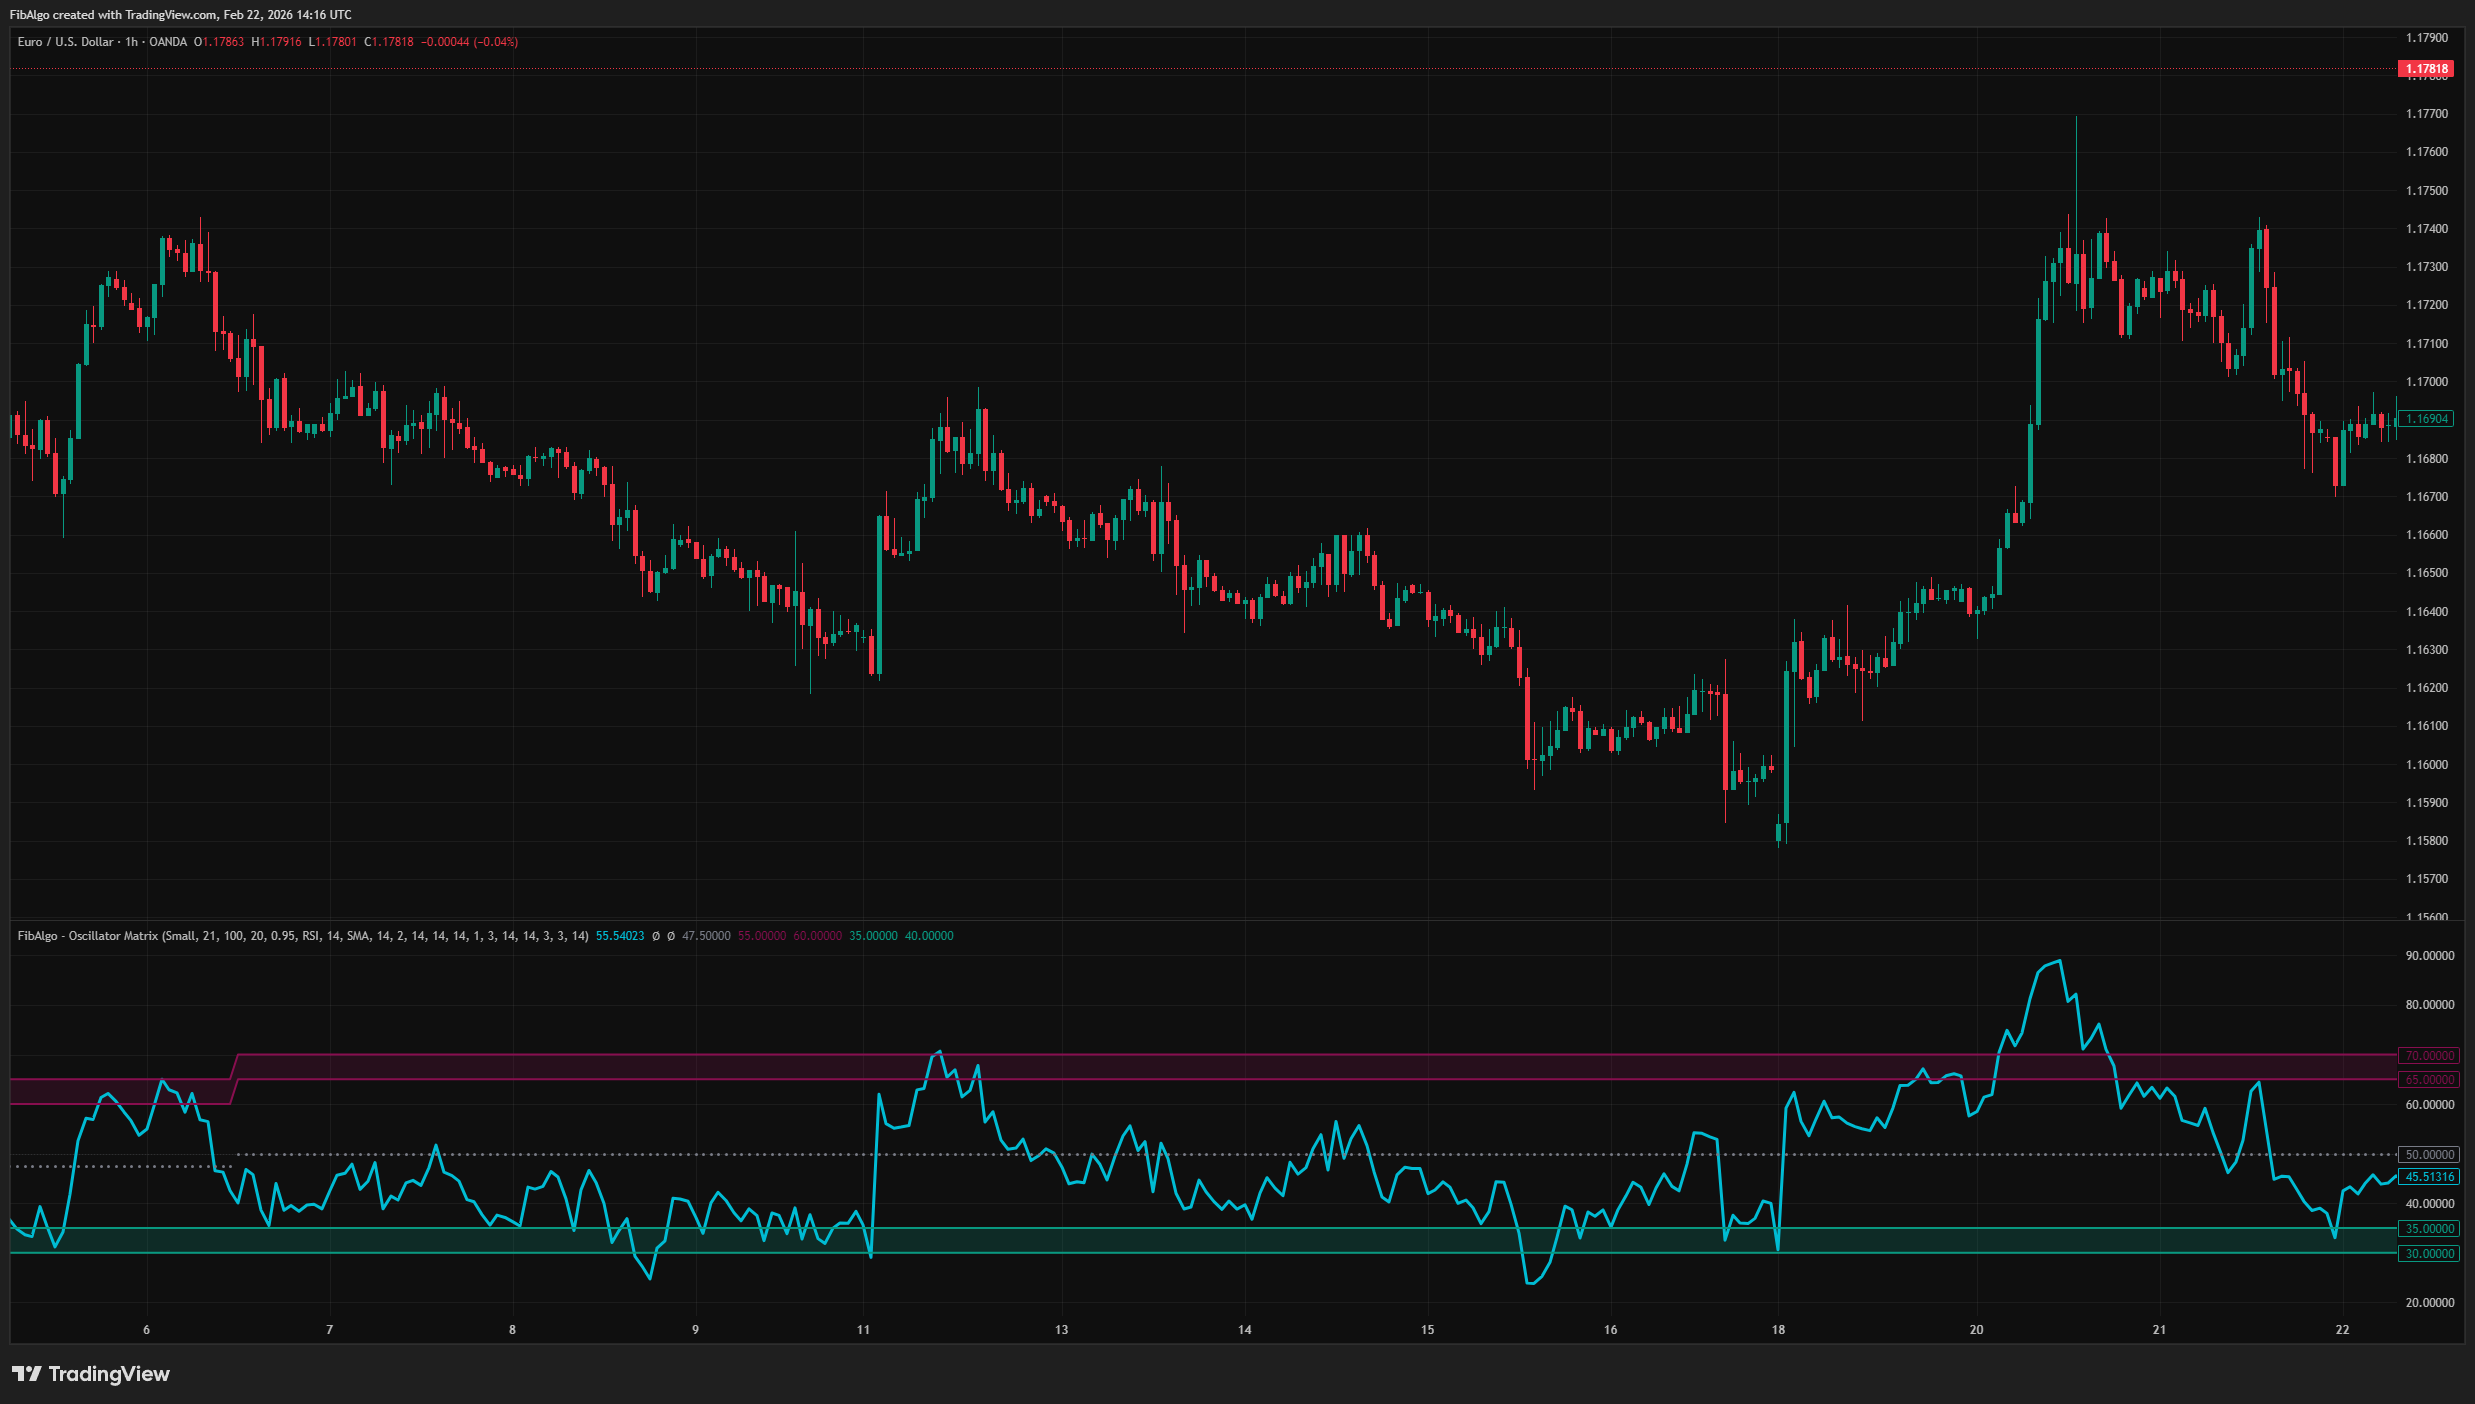
Oscillator Matrix
Statistical oscillator indicator for TradingView that identifies dynamic overbought and oversold zones based on actual pivot frequency distributions.
See Details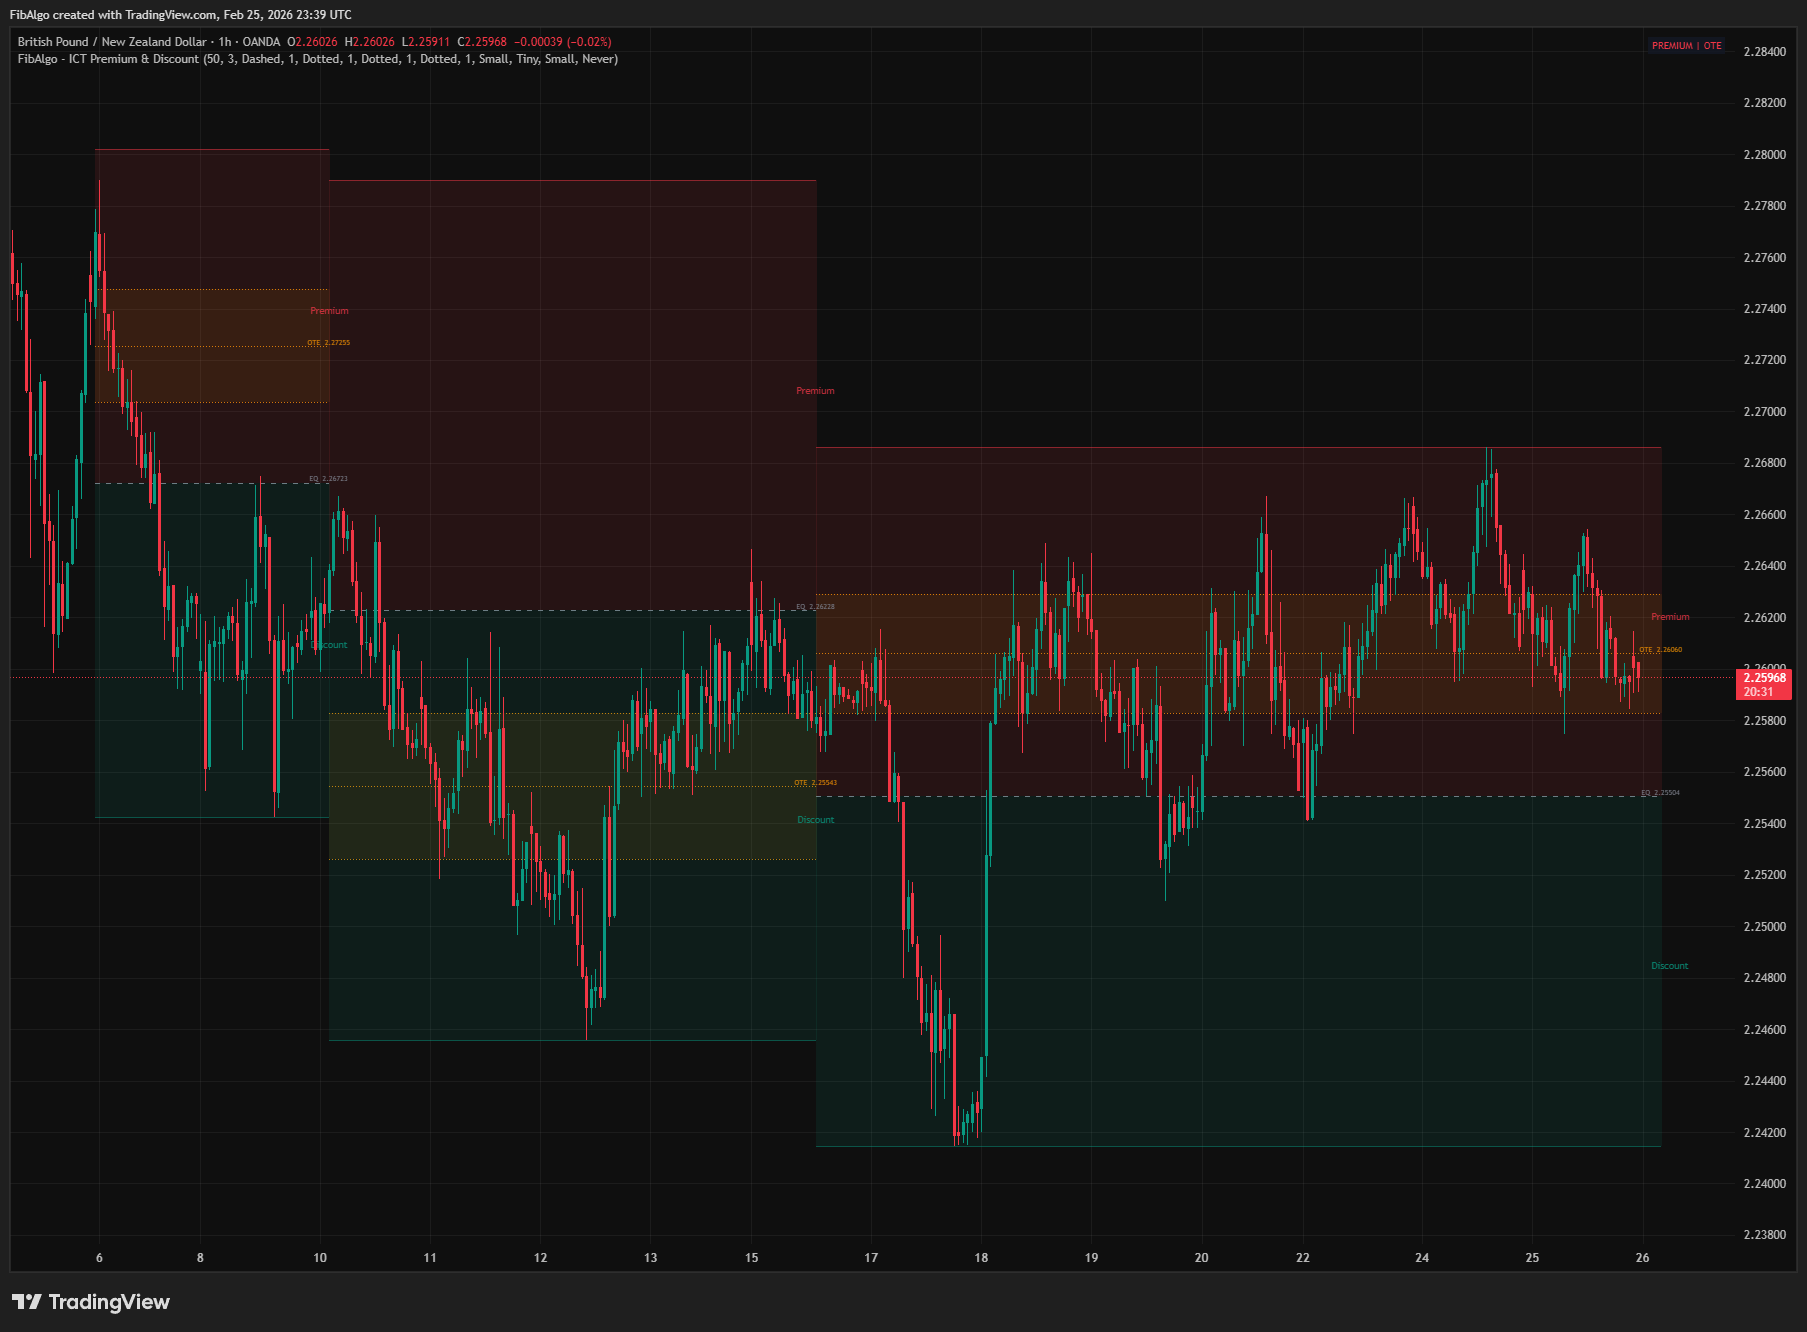
ICT Premium & Discount
TradingView indicator that detects ICT Premium and Discount zones in real-time using zigzag analysis with Equilibrium and OTE retracement highlights.
See Details